
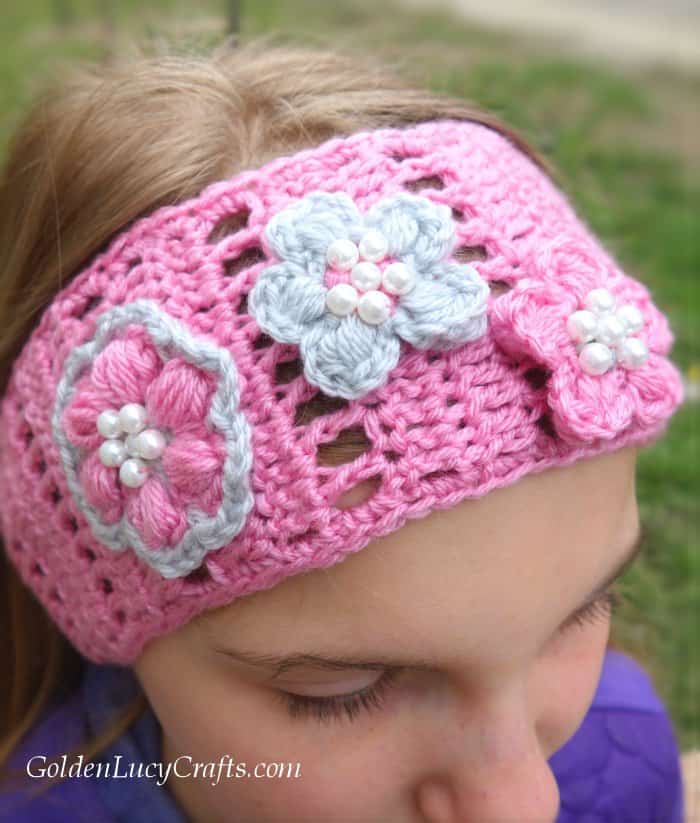
This crochet headband is a beautiful Spring project and is perfect for warm spring weather. I made this headband for my niece to match her Spring Blossom scarf which I made earlier.
In spite of the fact that I made this headband for a young girl, it will look attractive and graceful for women of any age!
Disclosure: This post contains affiliate links, which means if you make a purchase from one of these links I will get a commission. As an Amazon Associate I earn from qualifying purchases.
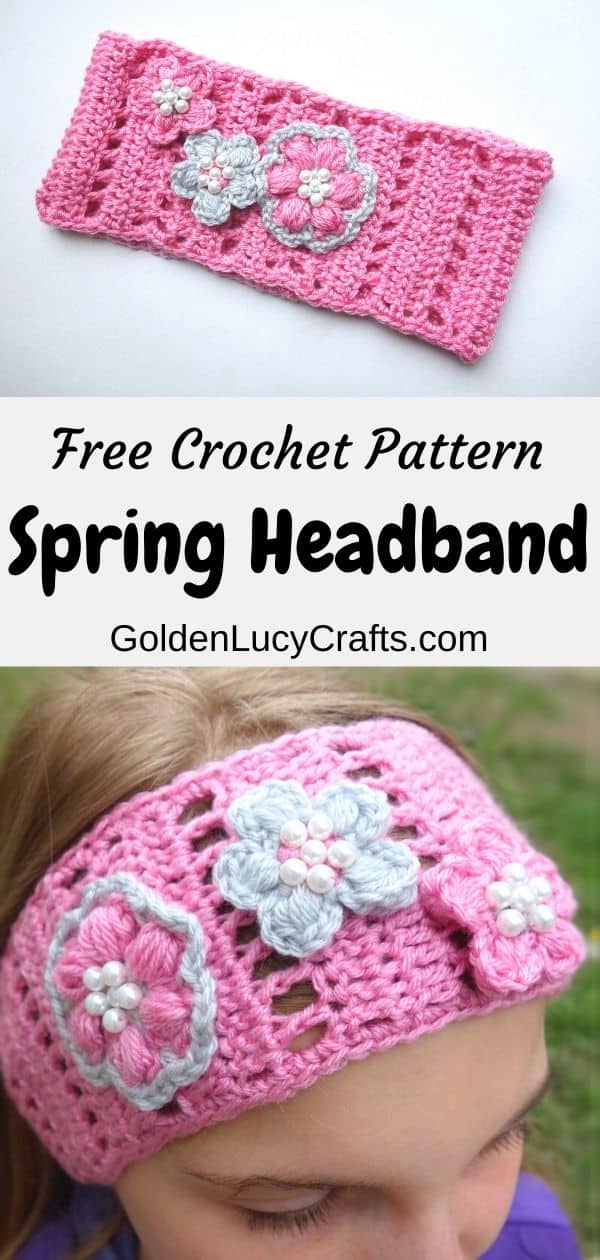
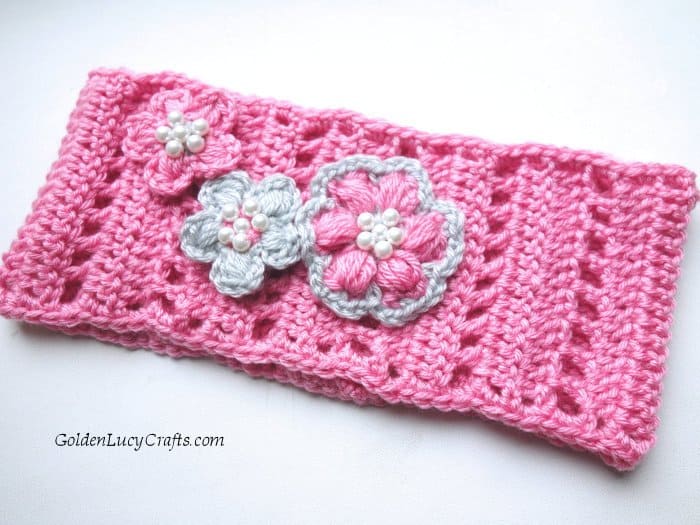
This cute Spring crochet headband is made in beautiful pink colors and is embellished with flowers and beads.
For this headband, I used leftover yarn from my Spring Blossom scarf. Headbands are perfect scrap yarn projects as they use small amounts of yarn.
This headband also is easy, simple and works up quickly. It is a very good project for beginners. However, the flowers require that you know how to make the Puff Stitch.
This headband also will make a beautiful small gift for Mother’s Day or birthdays!
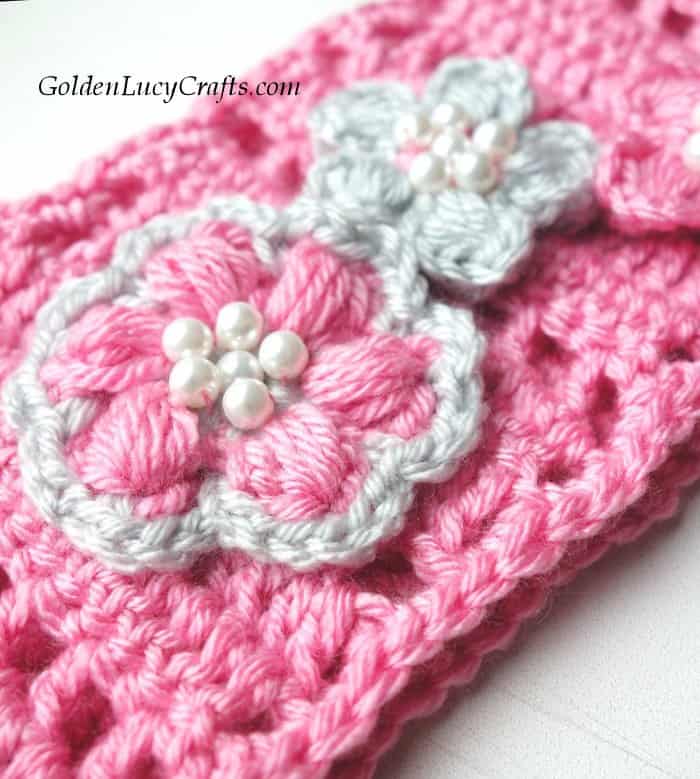
Spring Headband – Crochet Pattern
The pattern for this crochet Heart Snowflake is also available as a print-friendly, styled and advertisement-free PDF file. You can get it from my Etsy shop HERE. Free pattern is below.
You can add this pattern to your Ravelry library HERE!
PIN this crochet headband pattern to your Pinterest boards for later!
Abbreviations:
(See a list of crochet abbreviations used in patterns by yarn industry designers and publishers HERE)
Ch – chain
DC – double crochet
HDC – half double crochet
Puff St – puff stitch
SC – single crochet
Sl St – slip stitch
Finished Size:
This crochet headband is about 4-1/4″ (10-1/2 cm) wide.
Yarn:
Joy DK by Loops & Threads, dk #3 weight yarn (3.5 oz/100 g, 273 yds/250 m), 1 ball – Blossom (A), 1 ball – Cloud (B).
Hook & Other Materials:
US Size H-8 (5 mm) crochet hook
US Size 7 (4.5 mm) crochet hook
Sewing needle
Matching sewing threads
Beads
Find my favorite craft and crochet supplies HERE!
Notes:
- This headband is worked in rows and then the ends sewed together. It makes it easy to customize the circumference for the size you need.
To adjust the size, you need to adjust number of repeats.
2. You can also adjust the width of this headband. The foundation chain is an uneven number, so you can make your headband wider or narrower. Just make sure that the starting chain has an uneven number.
Special stitches:
Puff St (4-hdc puff stitch) = Yarn over, insert hook in indicated stitch. Yarn over again and draw up a loop. There will be three loops on the hook.
Repeat three more times. Each time adds 2 more loops to the hook. There will be 9 loops on the hook.
Yarn over and draw through all loops on hook. You have one loop on hook, Ch 1 to secure the puff stitch.
Instructions:
With color A and crochet hook 5 mm,
Ch 19 (this includes 3 extra chains for the turning chain),
Row 1. DC in 4th Ch and in each Ch across. Total – 17 DC. Turn.
Row 2. Ch 4 (counts as DC and Ch 1), skip next St, DC in next, *Ch 1, skip next St, DC in next, repeat from * across. Total – 9 DC. Turn.
Row 3. Ch 3 (counts as DC), *DC in Ch-1 space, DC in next DC, repeat from *across (in the end, work last DC in 3rd Ch of Ch 4). Total – 17 DC. Turn.
Row 4. Ch 3 (counts as DC), DC in each St across – 17 DC. Turn.
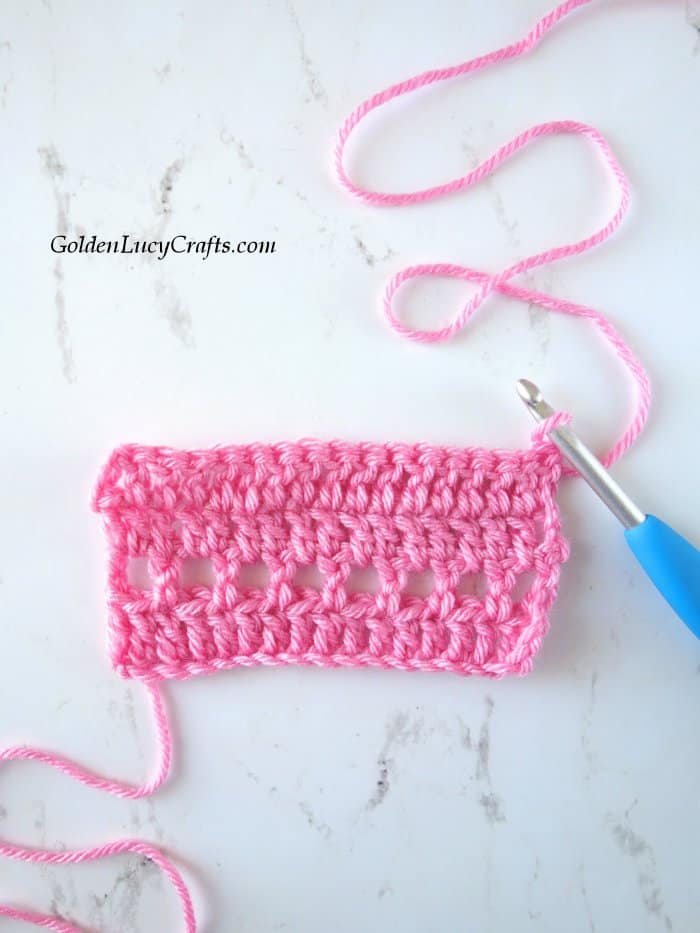
Repeat Rows 2-4 until you reach the desired size. Last repeat – work only Rows 1 and 2. After the last Row – do not turn. We will be working on edging.
Edging
Note: when working along the row ends, work into the spaces between the row-end stitch and next stitch.
Working down long side in row ends, *Ch 1, 2 SC in each DC.* Fasten off.
Rotate your work, join yarn to first St of another long side and repeat from * to * along that side. Fasten off, leaving a long tail.
Flowers
Large Flower
With color B and hook 4.5 mm, Ch 5, join to form a ring.
Rnd 1. Ch 1, 12 SC into the ring, change color to A, Sl St to first St. Total – 12 SC. Do not cut off color B, leave yarn in back.
Rnd 2. Continue with A, Ch 1, SC in same, *Ch 3, Puff St in next, Ch 3, SC in next, repeat from * around, join with Sl St to first. Total – 6 Puff Sts.
Fasten off color A.
Rnd 3. Pick up color B, (through top of first SC of Rnd 2), *Ch 3, SC in top of next Puff St, Ch 3, Sl St in next SC, repeat from * around.
Fasten off.
Small Flower
With color A and hook 4.5 mm, Ch 5, join to form ring.
Rnd 1. Ch 1, 9 SC into ring, join with Sl St to first. Total – 9 SC. Fasten off color A.
Rnd 2. With color B, Sl St to first SC, *(Ch 3, Puff St, Ch 3, Sl St) in same St, skip 1, Sl St in next, repeat from * around, last Sl St join to first. Total – 5 Puff Sts.
Fasten off.
Make one more small flowers using color B for Rnd 1 and color A for Rnd 2.
Embellish flower’s centers with beads.
Finishing
With yarn tail, sew ends of Headband together. Sew flowers on Headband.
I hope you enjoyed this Spring headband crochet pattern!
Happy Crocheting!

See more:
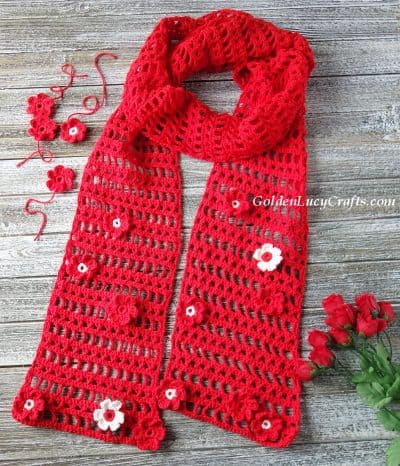
Crochet Lace Floral Scarf
What a lovely idea!
Thank you so much!
I’m crocheting many headbands (various solid and variegated colors), in several patterns that, hopefully, sell well enough to help our daugter and son in law save for their homestead poperty. Your directions are clearly written so easy to follow and the pattern really shows off the stitches (I only put the flowers on girls’ sizes).
Thanks so much. May the Lord bless and keep you.
Thank you so much for all your kind words! I am very happy to hear that you like my headband pattern!
I made a totally positive comment that wasn’t approved
And I’m sure this comment will be deleted as well
Hi Debbie, I am sorry that I wasn’t able to approve your comment immediately. I don’t spend near the computer 24 hours per day and I am doing my best to reply as soon as I can. Thank you for your very nice comment! It is approved!
Hi! I am wondering where it says “last repeat work only 1 and 2 rows” what that means. I am stuck at that part lol Unfortunately I only learned from the internet and have no one to explain. I’m sure its simple. tysm
You will need to repeat Rows 2-4 until you reach the desired size of your headband. So, you have 3 rows repeat. When you are doing last repeat – work only rows 1 and 2 of 3 rows pepeat (or, in other words, rows 2 and 3 of the pattern).