
After publishing my previous post with a pattern for the crochet Tooth applique, I was asked to design a small crochet Tooth Fairy Pouch.
Disclosure: This post may contain affiliate links, which means if you make a purchase from one of these links I will get a commission.
In this post, you can find how to make a crochet Tooth Fairy Pouch from two Tooth appliques. This Tooth Fairy Pouch is cute, small and perfect to place a tooth for the Tooth Fairy to collect!
Crochet Tooth Fairy Pouch
The pattern for both crochet Tooth Applique and Tooth Pouch is also available as a print-friendly, styled and advertisement-free PDF in my Etsy shop.
Add this pattern to your Ravelry library!
PIN this pattern to your Pinterest Board for later!

Finished Size:
This crochet Tooth Pouch is about 2-1/2” (6 cm) tall (without handle).

Materials:
- Medium weight #4 cotton yarn Sugar’n Cream
- Crochet hook size 5 mm
- Small buttons for the eyes
- Sewing needle
Find my favorite crochet supplies HERE!
Instructions:
1. Follow the Instructions for the Tooth applique, make two of them.
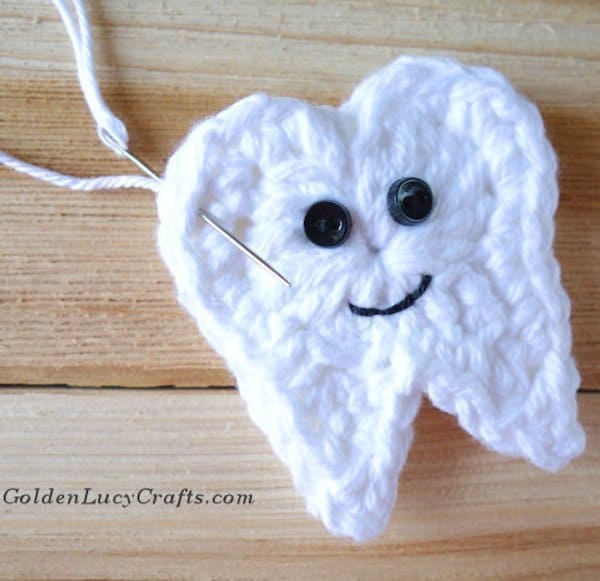
2. On one of the Tooth applique, sew on eyes and embroider the mouth.

3. Sew two appliques together, leaving an opening on the top.
4. Make a handle.
Join yarn on the top where the opening begins.

Chain 30 (or, if you wish, you can make it shorter or longer). Join with a slip stitch to another side of the opening. Weave in all ends.
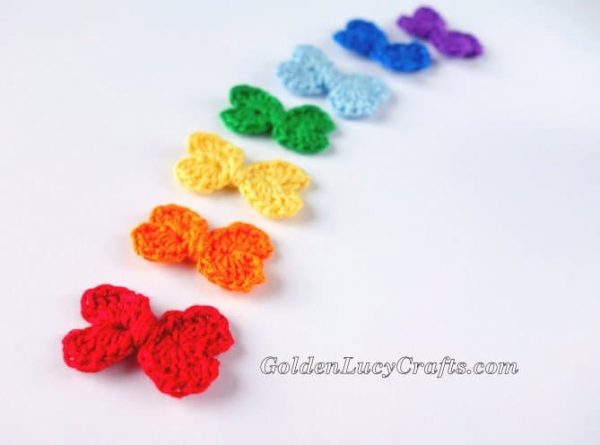
5. Make a small Heart Bow and sew it on.
6. Block and shape your Tooth Fairy Pouch as necessary.
Your crochet Tooth Fairy Pouch is complete now and ready for a lost tooth to go in!

I hope you enjoyed this crochet Tooth Fairy Pouch idea!
With Love,

You may also like:
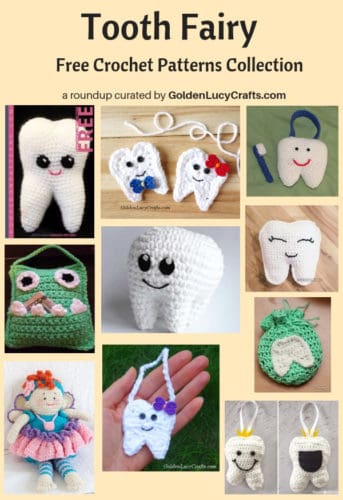
10 Free Tooth Fairy Crochet Patterns
Baby Clothes Memory Quilt

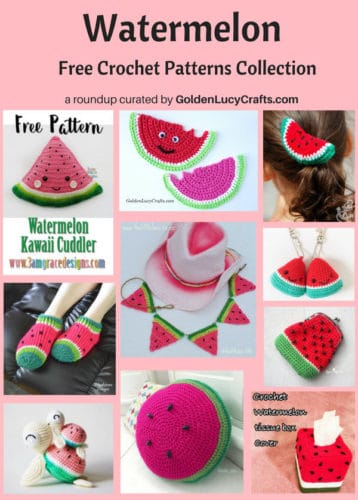
10 Amazing and Free Watermelon Patterns
Leave a Reply