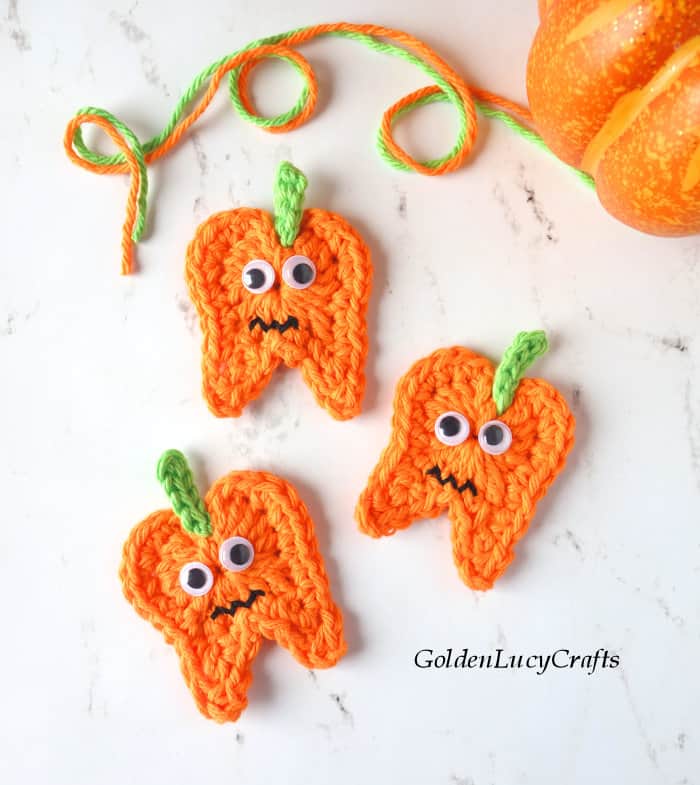
The idea to create this crochet Halloween Tooth Pumpkin was born after my son’s dentist visit earlier in October. As I already designed a Tooth applique, it was easy to modify it into a Tooth Pumpkin.
Disclosure: This post contains affiliate links, which means if you make a purchase from one of these links I will get a commission. As an Amazon Associate I earn from qualifying purchases.
This crochet Tooth Pumpkin will make a cute handmade gift for your favorite dentist! You can also use it for embellishment or just make it as an ornament to hang somewhere in the dental office.
This Crochet Tooth Pumpkin can be used for more than just dentists. If your child is expecting a visit from the Tooth Fairy during Halloween, you can use this applique to embellish a Tooth Fairy Pillow, Tooth Fairy Pouch or Bag.
Using the same method as I did to make this crochet Tooth Fairy Pouch, you can make a Halloween Tooth Pumpkin fairy pouch as well!
You can also sew this Tooth Pumpkin Applique onto your child’s clothes or on whatever you would like!
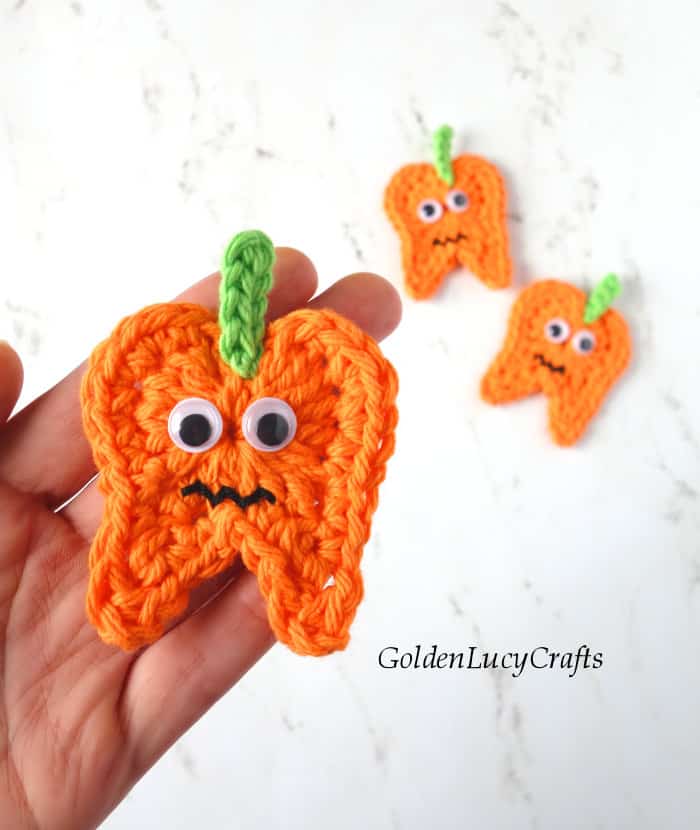
As I like to design appliques based on the heart shape, my crochet Tooth pattern is also based on the heart pattern.
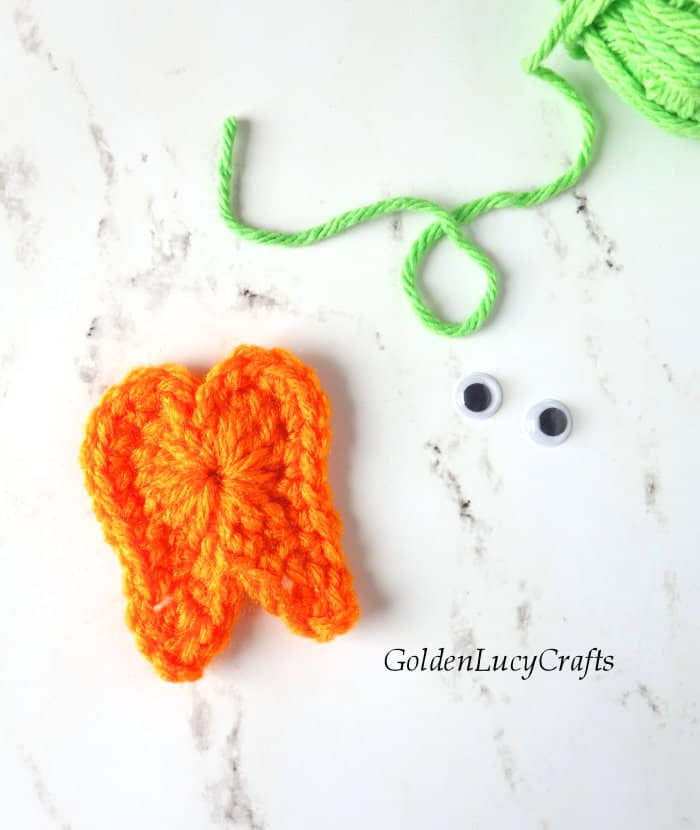
To make this Halloween Tooth Pumpkin, I used my previously designed crochet Tooth applique pattern. For your convenience, I will publish this pattern below as well.
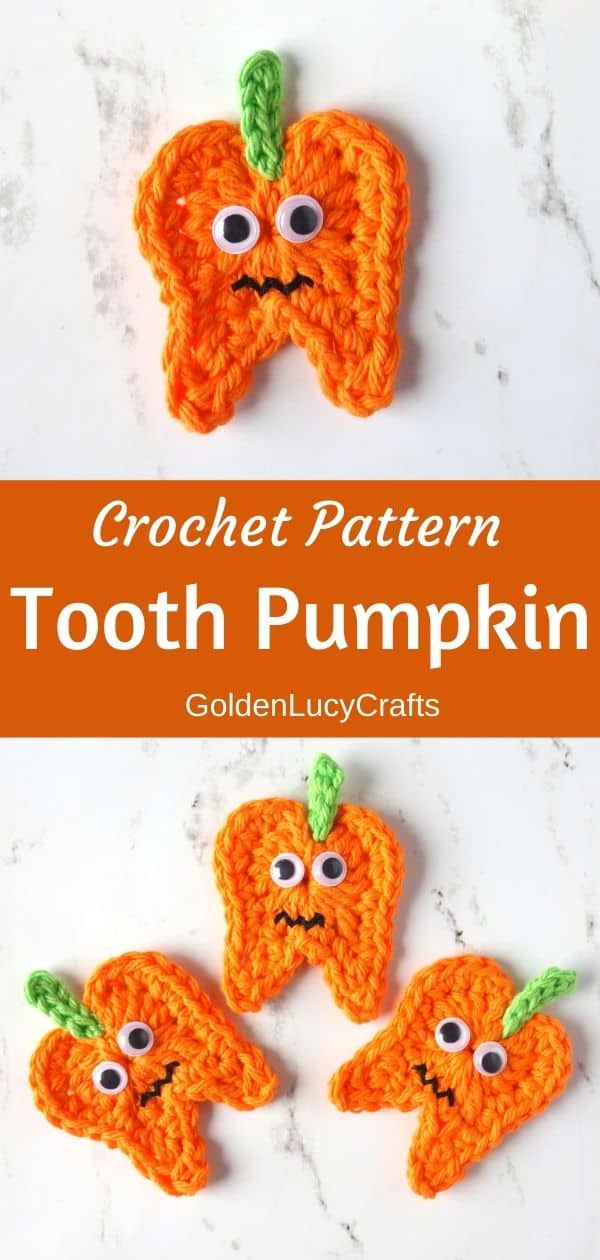
Tooth Pumpkin Crochet Pattern
The pattern for original crochet Tooth Applique and Tooth Pouch is also available as a print-friendly, styled and advertisement-free PDF in my Etsy Shop.
You can add this pattern to your Ravelry library HERE.
You can PIN this pattern to your Pinterest Board for later HERE.
Abbreviations:
Ch – chain
DC – double crochet
HDC – half double crochet
Rnd – round
SC- single crochet
Sl St – slip stitch
St (Sts) – stitch (stitches)
TR – treble crochet
Skill Level:
Intermediate
Finished Size:
This Tooth Pumpkin is about 3” (7.5 cm) tall
Yarn:
Medium weight #4 yarn. I used Lily Sugar’n Cream medium weight #4 cotton yarn.
Hook and Other Materials:
Crochet hook H/8 – 5 mm
Black embroidery floss
Sticky-back googly eyes
Stitch Marker
Note:
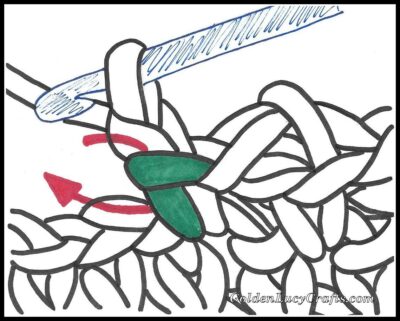
How to work in the top of a stitch:
When instructed to work into the top of a stitch, insert hook under two loops highlighted in green in direction of the arrow.
Instructions:
With orange color, Ch 4;
Round 1. Working under both loops (or strands), work (4 DC, HDC) in 4th Ch from hook (the first Ch made), Ch 1,
First Tooth Root – TR in same 4th Ch, Ch 2 (this makes first Ch-2 space – mark it with stitch marker), Sl St in top of last TR (see Note),
(HDC, SC, HDC) in 4th Ch,
Second Tooth Root – TR in 4th Ch, Ch 2 (this makes second Ch-2 space – mark it with stitch marker), Sl St in top of last TR (see Note),
Ch 1, (HDC, 4 DC) in 4th Ch, Ch 3, Sl St in 4th Ch.
Round 2. Ch 3, SC in top of first St, 2 SC in each of next 2 Sts, SC in each of next 2 Sts, SC in Ch 1 St, SC in next St, Ch 1,
First Tooth Root – DC in marked first Ch-2 space, Ch 2, SC in top of last DC (See Note), Ch 1, SC in marked first Ch-2 space, remove marker,
SC in next St, Sl St in next St (this is SC stitch between Tooth roots), SC in each of next 2 Sts, Ch 1,
Second Tooth Root – DC in marked second Ch-2 space, Ch 2, SC in top of DC (See Note), Ch 1, SC in marked second Ch-2 space, remove marker,
SC in next Ch 1 stitch, SC in each of next 2 Sts, 2 SC in each of next 2 Sts, SC in next St, Ch 3, Sl St in center.
Fasten off.
Stem
Join green color to last Sl St, Ch 5;
Row 1. Sl St in 2nd Ch and in next 3 Chs, Sl St in place where you joined.
Finishing:
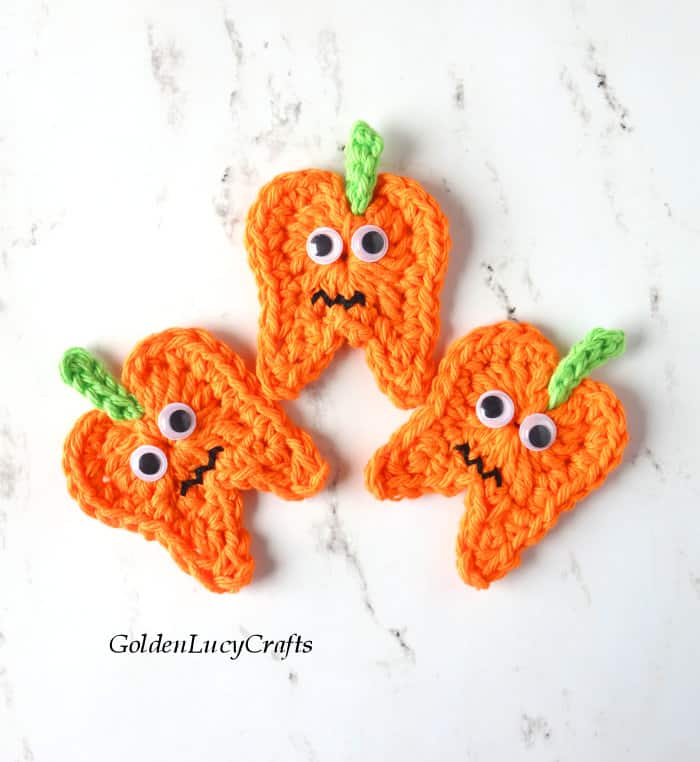
Block as necessary. Attach the eyes and embroider a mouth.
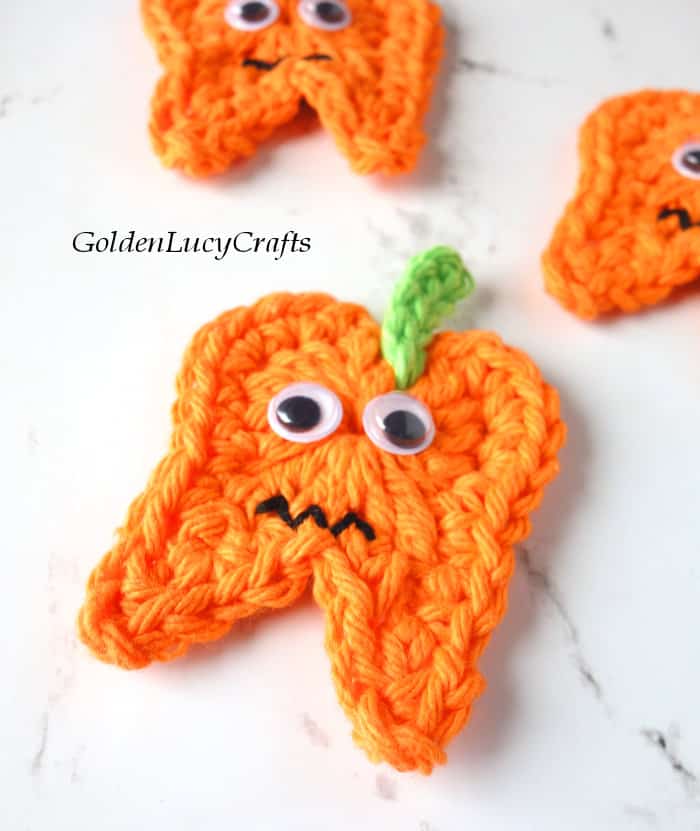
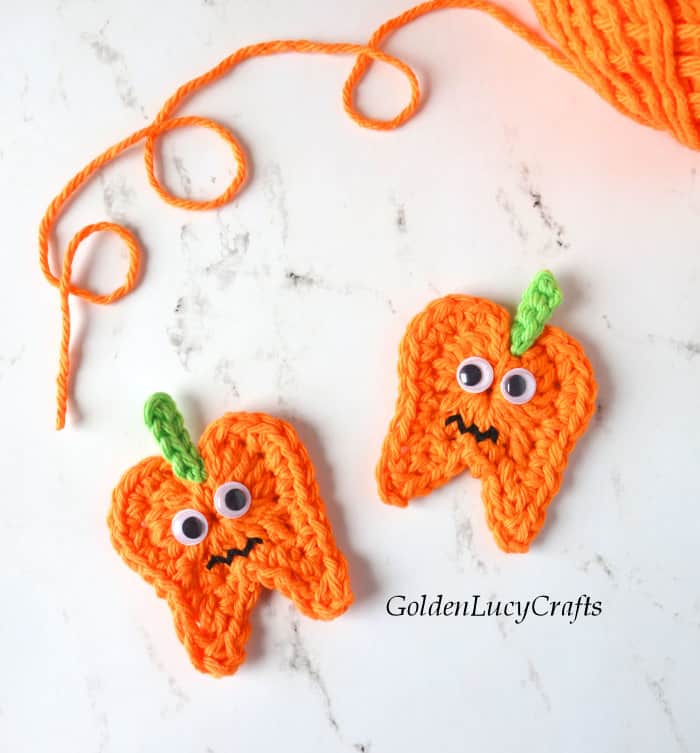
I hope you enjoyed this Halloween Tooth Pumpkin crochet pattern!
Happy Crocheting!

You may also like:
Halloween Free Crochet Pattern Collection

Halloween Crochet Patterns on Etsy

Leave a Reply