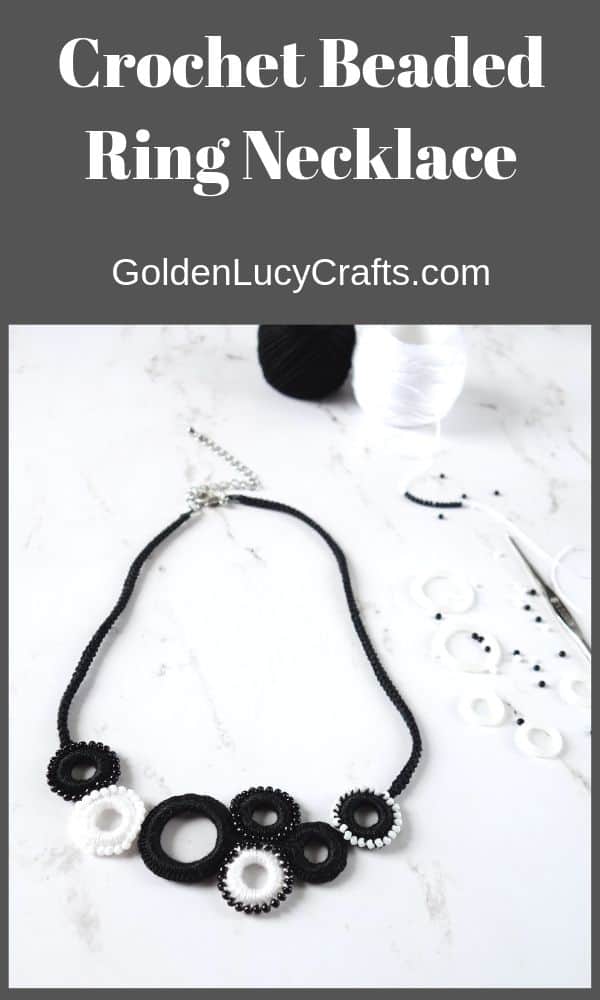
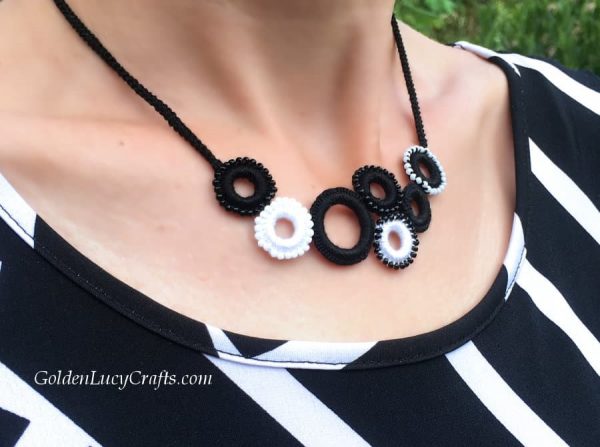
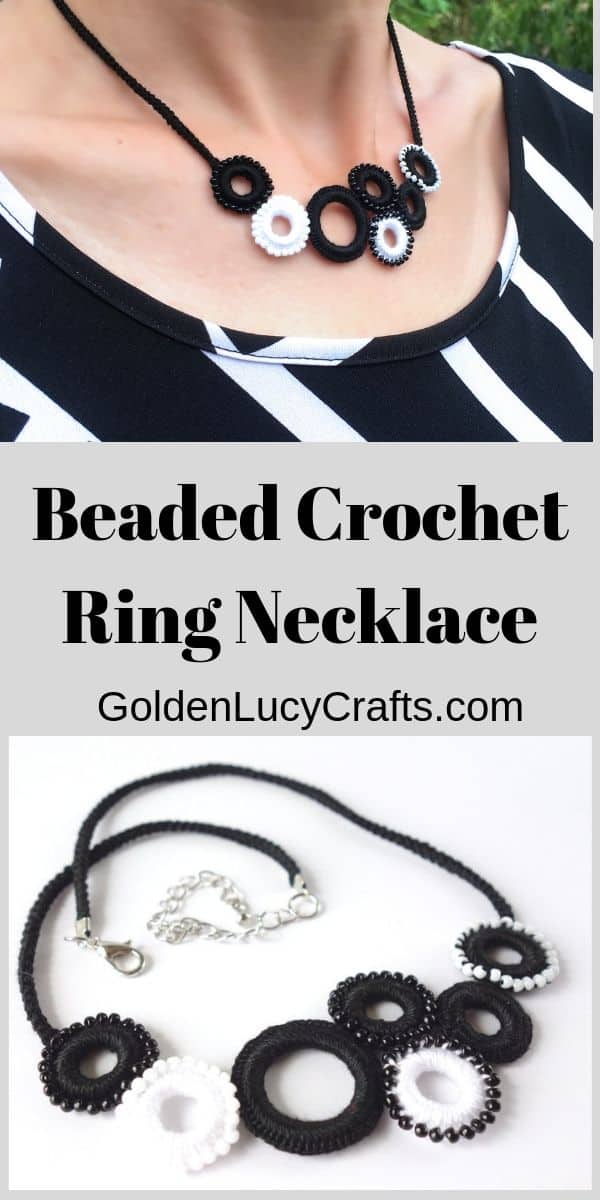
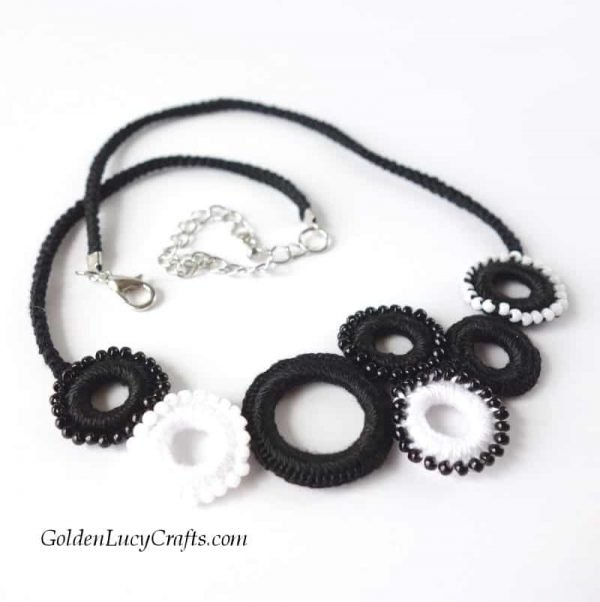
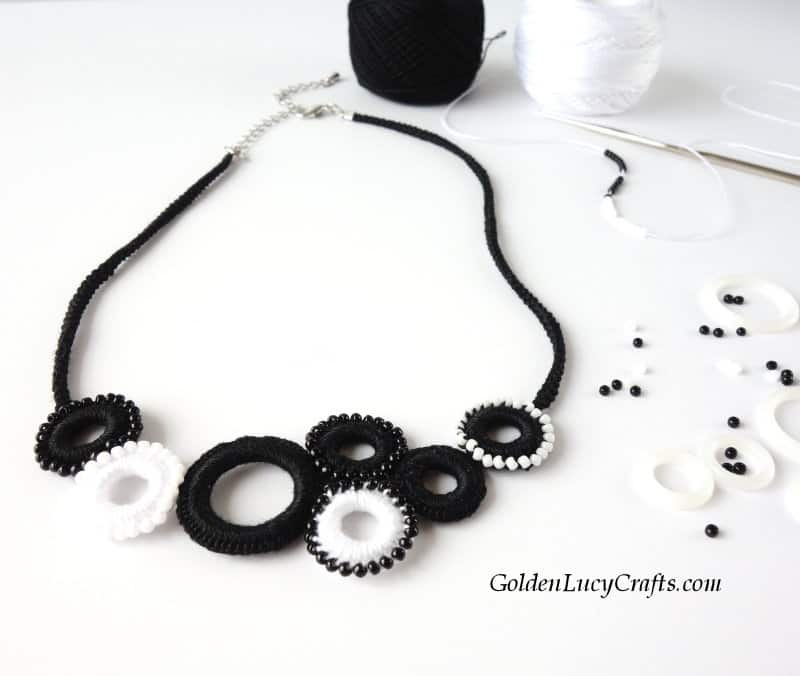
This crochet necklace is very fun to make. There are no specific requirements on how to arrange the rings, so it will give you a chance to be creative.
You can use your imagination and make amazing designs. Your crochet necklace will be absolutely unique! And I guarantee that after you make one necklace, you will definitely want to make more using different designs and different colors!
This necklace will make a wonderful gift and it is also part of my Crochet Gift Ideas for Mother’s Day collection.
Disclosure: This post may contain affiliate links, which means if you make a purchase from one of these links I will get a small affiliate commission.
I made this crochet necklace in black and white colors to match one of my outfits. You can make it in any colors you would like.
For more crochet patterns, craft ideas and fun projects follow GoldenLucyCrafts on Facebook, Pinterest, Twitter, and Instagram!
Black and White Beaded Crochet Ring Necklace
Add this pattern to your Ravelry library!
PIN this pattern to your Pinterest Board for later!
Abbreviations:
Ch – chain
SC – single crochet
Materials and tools:
For this project I used DMC Pearl cotton. This cotton is silky, slightly shiny, and doesn’t fluff.
- DMC Pearl Cotton Thread Ball, size 8, color – black.
- DMC Pearl Cotton Thread Ball, size 8, color – white.
- Cabone Rings 0.5 “ and 0.75 “ in diameter
- Beads – I used TOHO 11/0 glass seed beads
- Jewelry plier
- Cord end caps
- 12 mm Lobster Clasp
- Jump rings
- Jewelry Chain
- Sewing needle
- Bead Needle
Find my favorite crochet supplies HERE!
Note: To secure the beginning end, while crocheting around the ring, hold it next to the ring and crochet around the ring and this end.
Instructions
- Make rings without beads. To start, with your hook pull the loop through the ring, work SC all the way around of the ring until the ring is completely covered. Secure and cut off beginning end. Leave second end about 6-8” long. We will be using it to join the rings.
2. Make rings with beads. First, thread the beads onto the yarn before starting to crochet around the ring. I had 24 beads on the smaller size (0.5”) ring.
Tip: Thread more beads then you think you will need. Better to have them left unused than don’t have enough.
With your hook pull the loop through the ring, *SC, slip a bead into position next to just made SC, yarn over past the bead and Ch 1 – repeat from * around until the ring is completely covered. Side facing you is wrong side. Secure and cut off beginning end. Leave second end about 6-8” long.
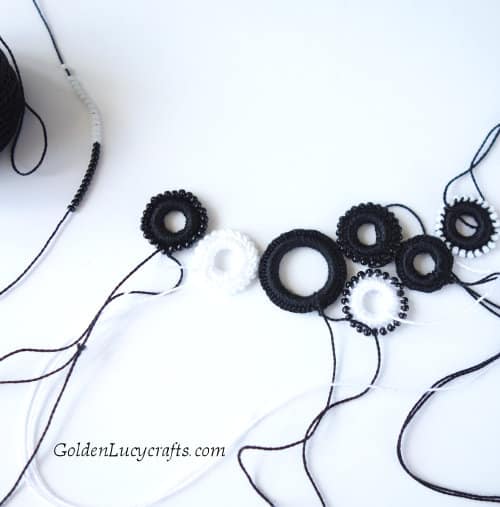
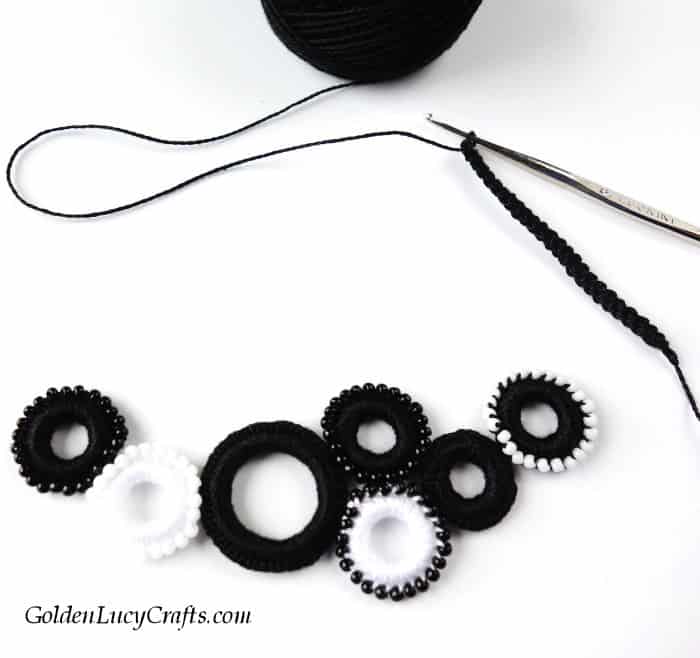
3. Now is the fun part – layout your design! Make sure to arrange rings with right side down.
4. Using saved ends, sew rings together from the wrong side.
5. Crochet two Romanian cords (the pattern is HERE), you also can crochet a chain or, use jewelry chain instead. Sew the ends of the cords to each side of your necklace.
6. Attach cord end caps to both ends.
7. Attach jump rings to both cord end caps.
8. On one side, attach lobster clasp to the jump ring. On another side, attach a 2-3” length of jewelry chain to the jump ring.
Your necklace is finished!
I hope you enjoyed this crochet ring necklace tutorial!
With Love,
See more:
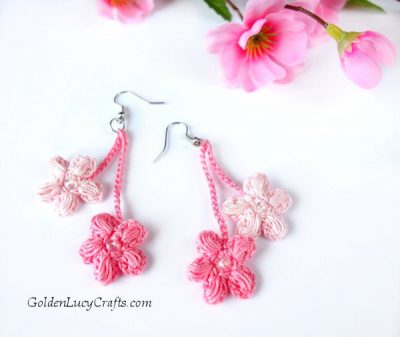
Cherry Blossom Earrings
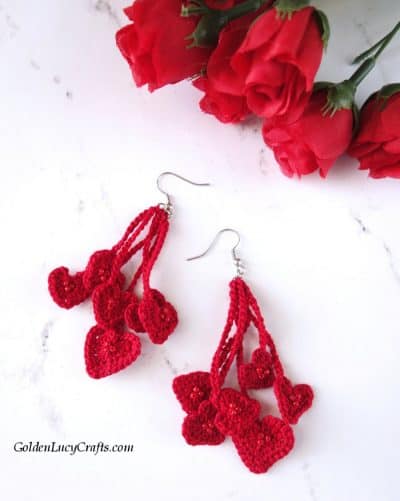
Crochet Heart Earrings
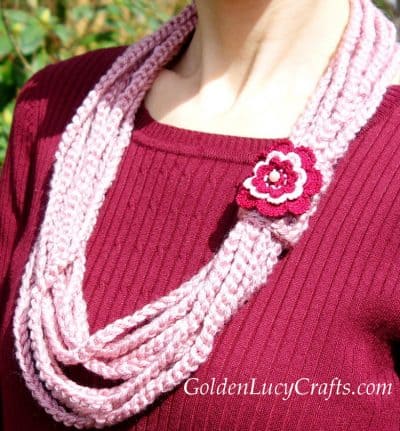
Chain Scarf, Necklace


These are beautiful. Thanks for sharing
You are very welcome! I am glad that you like it!