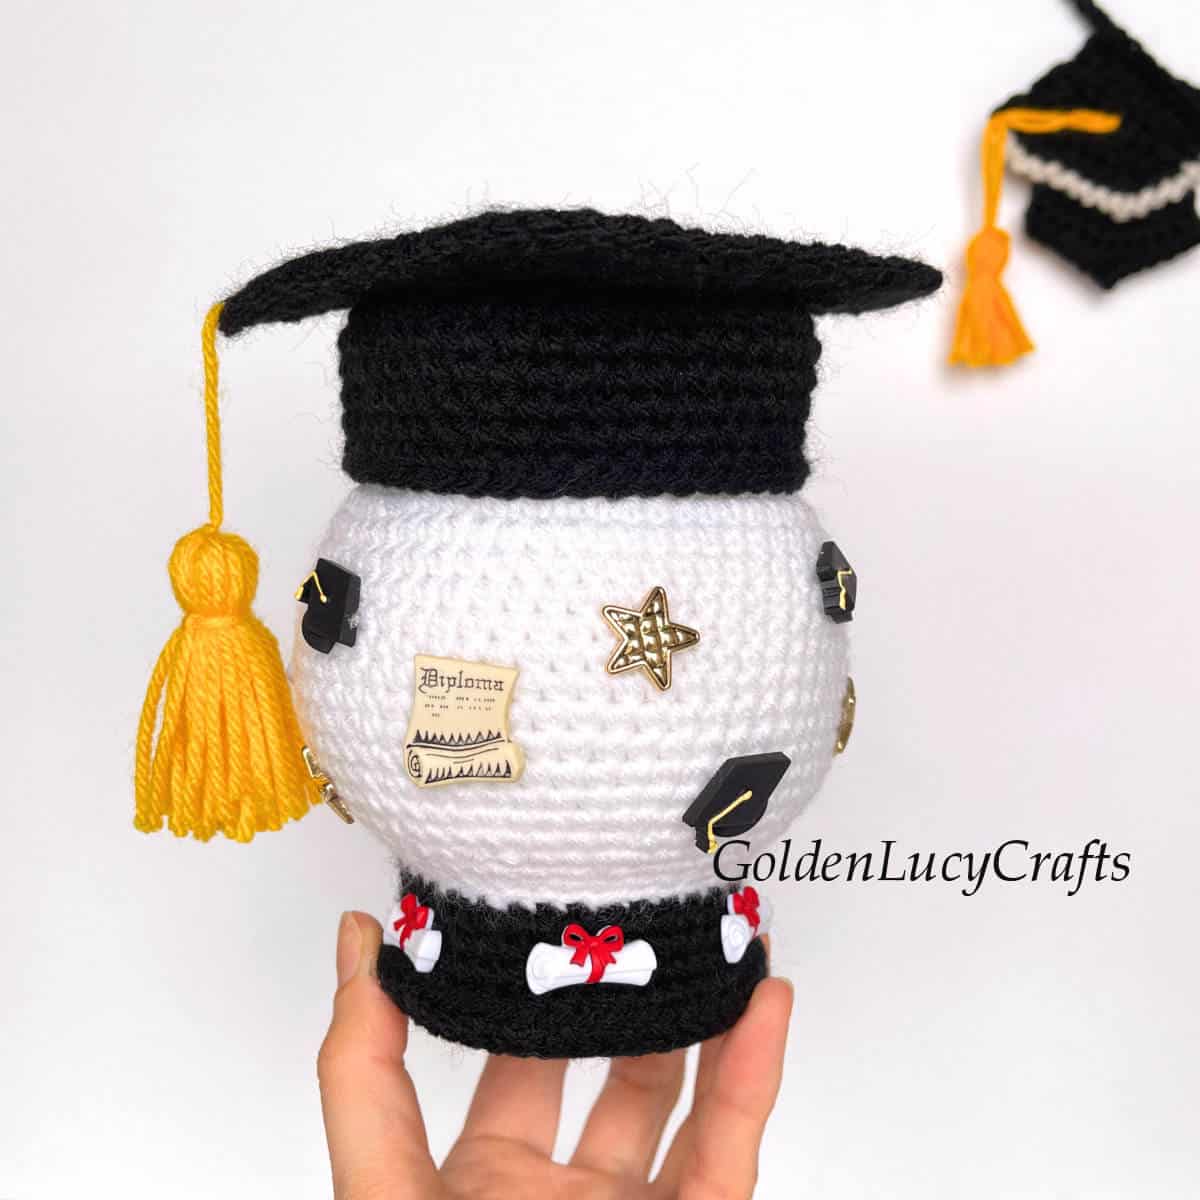
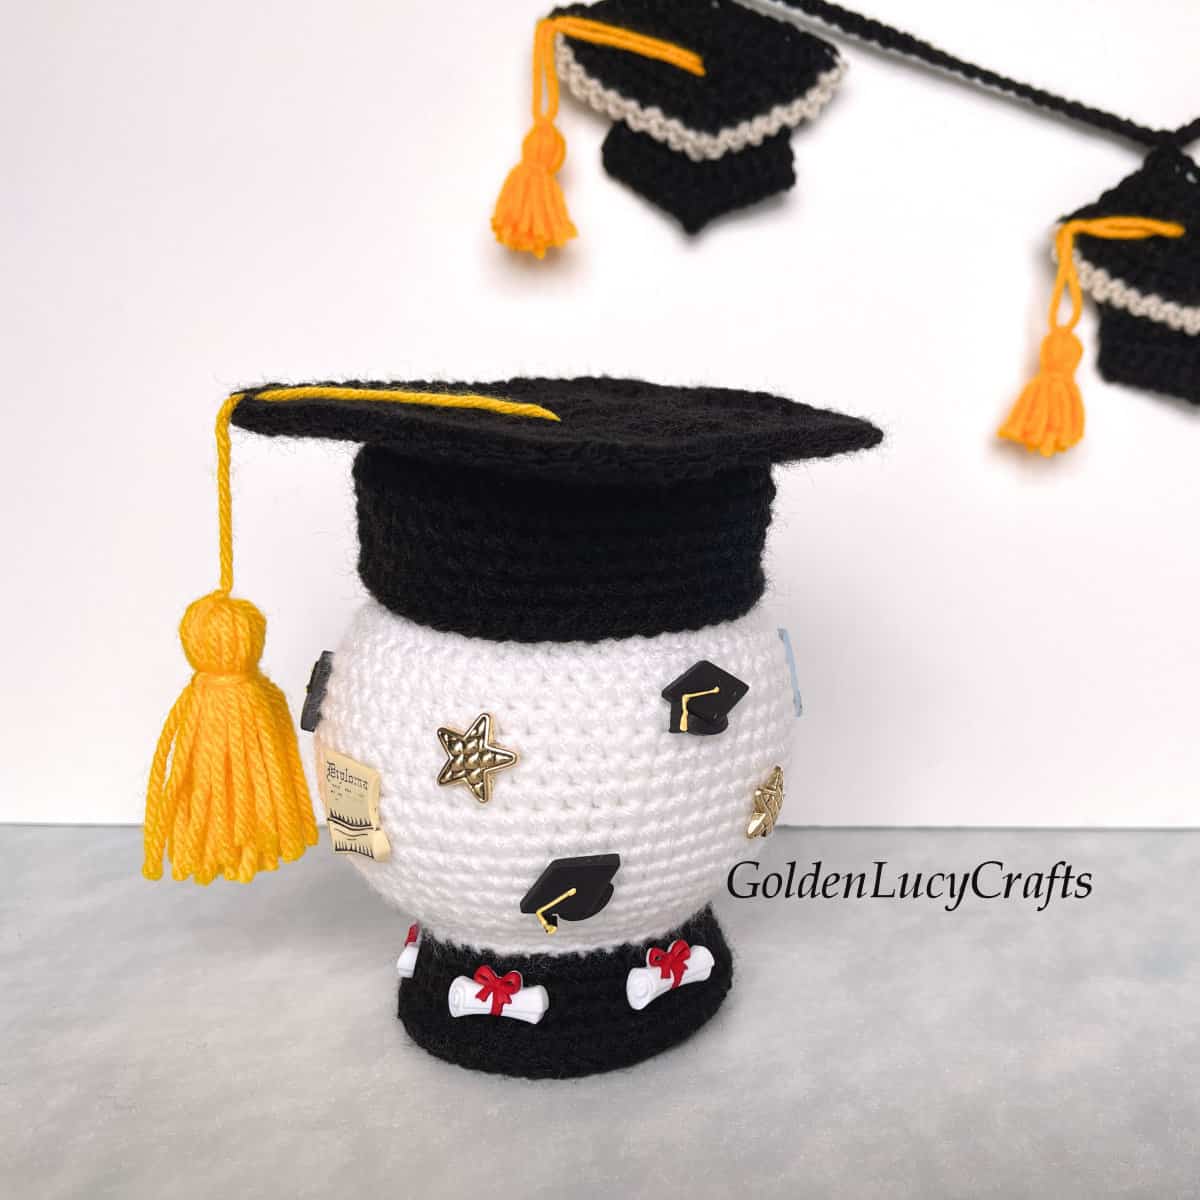
This crochet Graduation snow globe will make a cute handmade gift for graduate in your life! This snow globe is embellished with graduation themed buttons and wears a graduation cap (or mortarboard).
Disclosure: This post contains affiliate links, which means if you make a purchase from one of these links I will get a commission. As an Amazon Associate I earn from qualifying purchases.
You may also like my other graduation designs: graduation cap applique for a handmade card, crochet graduation garland, and crochet graduation gnome applique.
This crochet Graduation snow globe is my 7th snow globe. The first original snow globe design is a classic Winter snow globe. It became very popular and also was featured in Country Woman Magazine!
Here are my other snow globes: Lilac snow globe, Halloween snow globe, Valentine’s Day snow globe, St. Patrick’s Day snow globe, and Easter snow globe.
Graduation Snow Globe Crochet Pattern
The pattern for this crochet Graduation Snow Globe is also available as a print-friendly, styled, and advertisement-free PDF. You can get it from my Etsy shop. Free pattern is below.
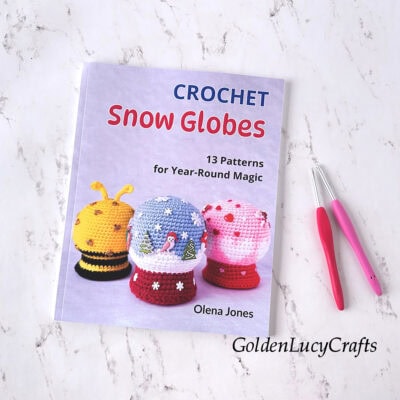
Exciting news! You can now get my snow globe patterns conveniently collected in one book! View the book and grab your copy HERE.
You can add this Graduation Snow Globe crochet pattern to your Ravelry library HERE.
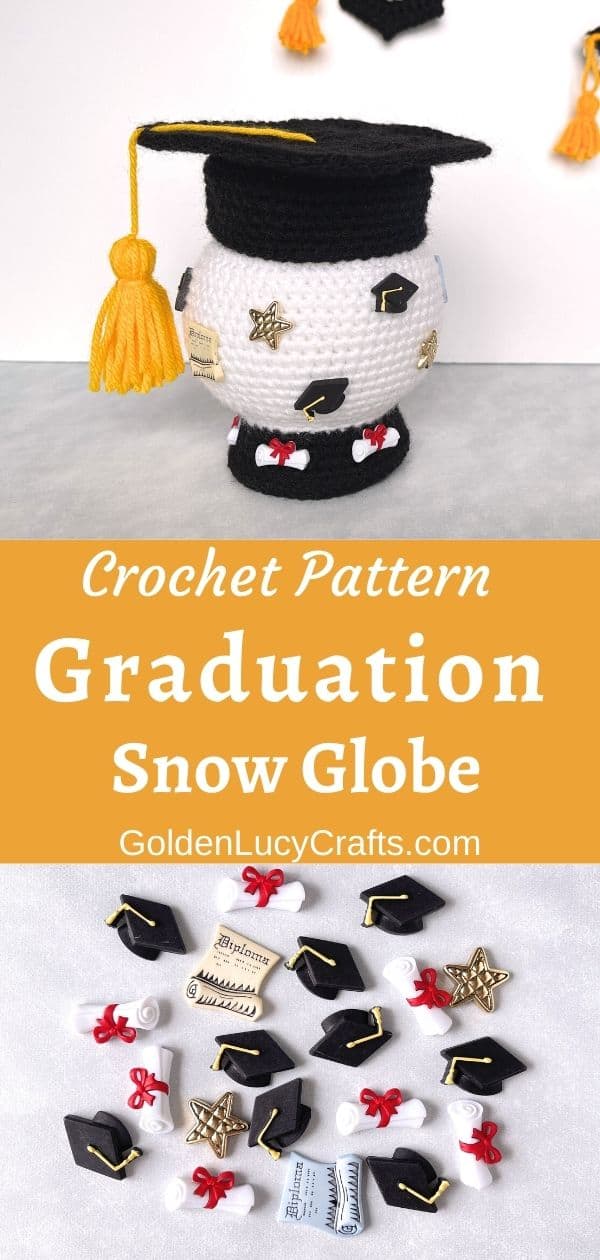
You can PIN this pattern to your Pinterest boards for HERE or PIN the image below.
Abbreviations:
BL, BLO – back loop, back loop only
Ch – chain
DC – double crochet
SC – single crochet
Sl St – slip stitch
sp – space
St (Sts) – stitch (stitches)
Skill Level:
Intermediate.
Finished Size:
This crochet graduation snow globe is about 6” (15 cm) tall.
Yarn:
Medium weight #4 yarn: white (Color A), black (Color B), yellow (Color C).
Hooks and other materials:
- Crochet hook E/4 (3.5 mm)
- Crochet hook 7 (4.5 mm)
- Stitch marker
- Large and small sewing needle
- Poly-fil stuffing
- 4” x 4” piece of cardboard
- 2 ½” x 2 ½” piece of cardboard
- Scissors
- Hot glue gun
- Weighted stuffing material (I used Poly Pellets weighted stuffing beads)
- Graduation-themed buttons. If you are using buttons with shanks, you will need to remove the shanks. (Unfortunately, the buttons I used in my sample are no longer available). You can also use stickers, charms, confetti, or sequins instead of buttons.
- You will also need a craft cutter to remove the shanks.
Find my favorite craft and crochet supplies HERE!
Note
The snow globe is worked in continuous rounds. Use stitch marker to mark first stitch of each round.
Special stitch
INV DEC (invisible decrease) – put hook through the front loop only of two consecutive stitches. You have three loops on hook. Yarn over and pull through two loops. You have two loops on hook. Yarn over and pull through those two loops. A photo tutorial for the INV DEC is available HERE.
Instructions:
For this Graduation snow globe, you will need to make a snow globe and a graduation cap (or mortarboard).
Snow globe
With crochet hook E/4 (3.5 mm) and Color A, make magic ring;
Copyright: This pattern is an original design by GoldenLucyCrafts. You may not copy, rewrite, redistribute or resell this pattern in any form, this includes making video tutorials. You may not translate this pattern to another language and publish the pattern or any parts of it.
Round 1. Ch 1, 6 SC in magic ring. Total – 6 SC.
Round 2. 2 SC in each St around. Total – 12 SC.
Round 3. [2 SC in first St, SC in next St] 6 times. Total – 18 SC.
Round 4. SC in first St, [2 SC in next St, SC in each of next 2 Sts] 5 times, 2 SC in next St, SC in next St. Total – 24 SC.
Round 5. [2 SC in first St, SC in each of next 3 Sts] 6 times. Total – 30 SC.
Round 6. SC in first St and in next St, [2 SC in next St, SC in each of next 4 Sts] 5 times, 2 SC in next St, SC in each of next 2 Sts. Total – 36 SC.
Round 7. [2 SC in first St, SC in each of next 5 Sts] 6 times. Total – 42 SC.
Round 8. SC in first St and in each of next 2 Sts, [2 SC in next St, SC in each of next 6 Sts] 5 times, 2 SC in next St, SC in each of next 3 Sts. Total – 48 SC.
Round 9. [2 SC in first St, SC in each of next 7 Sts] 6 times. Total – 54 SC.
Round 10. SC in first St and in each of next 3 Sts, [2 SC in next St, SC in each of next 8 Sts] 5 times, 2 SC in next St, SC in each of next 4 Sts. Total – 60 SC.
Round 11 – 21. SC in each St around.
Round 22. [SC in each of next 8 Sts, INV DEC] 6 times. Total – 54 SC.
Round 23. SC in each of next 3 Sts, INV DEC, [SC in each of next 7 Sts, INV DEC] 5 times, SC in each of next 4 Sts. Total – 48 SC.
Round 24. [SC in each of next 6 Sts, INV DEC] 6 times. Total – 42 SC.
Round 25. SC in each of next 2 Sts, INV DEC, [SC in each of next 5 Sts, INV DEC] 5 times, SC in each of next 3 Sts. Total – 36 SC.
Round 26. Sl St in each St around. Fasten off Color A. Total – 36 Sl Sts.
Continue working on base. Join Color B to BL of first St of previous round;
Round 1. Ch 1, BLO: SC in same St and in each of next 7 Sts, 2 SC in next St, [SC in each of next 8 Sts, 2 SC in next] 3 times. Total – 40 SC.
Round 2. SC in each St around. Total – 40 SC.
Round 3. [SC in each of next 9 Sts, 2 SC in next St] 4 times. Total – 44 SC.
Round 4. SC in each St around. Total – 44 SC.
Round 5. [SC in each of next 10 Sts, 2 SC in next St] 4 times. Total – 48 SC.
Round 6. SC in next St, Sl St in each of next 2 Sts. Fasten off.
Bottom
With Color B, make magic ring;
Round 1. Ch 1, 6 SC in magic ring.
Round 2. 2 SC in each St around. Total – 12 SC.
Round 3. [2 SC in first St, SC in next St] 6 times. Total – 18 SC.
Round 4. SC in first, [2 SC in next St, SC in each of next 2 Sts] 5 times, 2 SC in next St, SC in next St. Total – 24 Sts.
Round 5. [2 SC in first St, SC in each of next 3 Sts] 6 times. Total – 30 Sts.
Round 6. SC in first St and in next St, [2 SC in next St, SC in each of next 4 Sts] 5 times, 2 SC in next St, SC in each of next 2 Sts. Total – 36 Sts.
Round 7. [2 SC in first St, SC in each of next 5 Sts] 6 times. Total – 42 Sts.
Round 8. SC in first St and in each of next 2 Sts, [2 SC in next St, SC in each of next 6 Sts] 5 times, 2 SC in next St, SC in each of next 3 Sts. Total – 48 Sts. Leave long tail for sewing bottom to the base.
Cut out a circular piece of 4” x 4” piece of cardboard that is slightly smaller than the diameter of the bottom. A compass is very useful for this purpose.
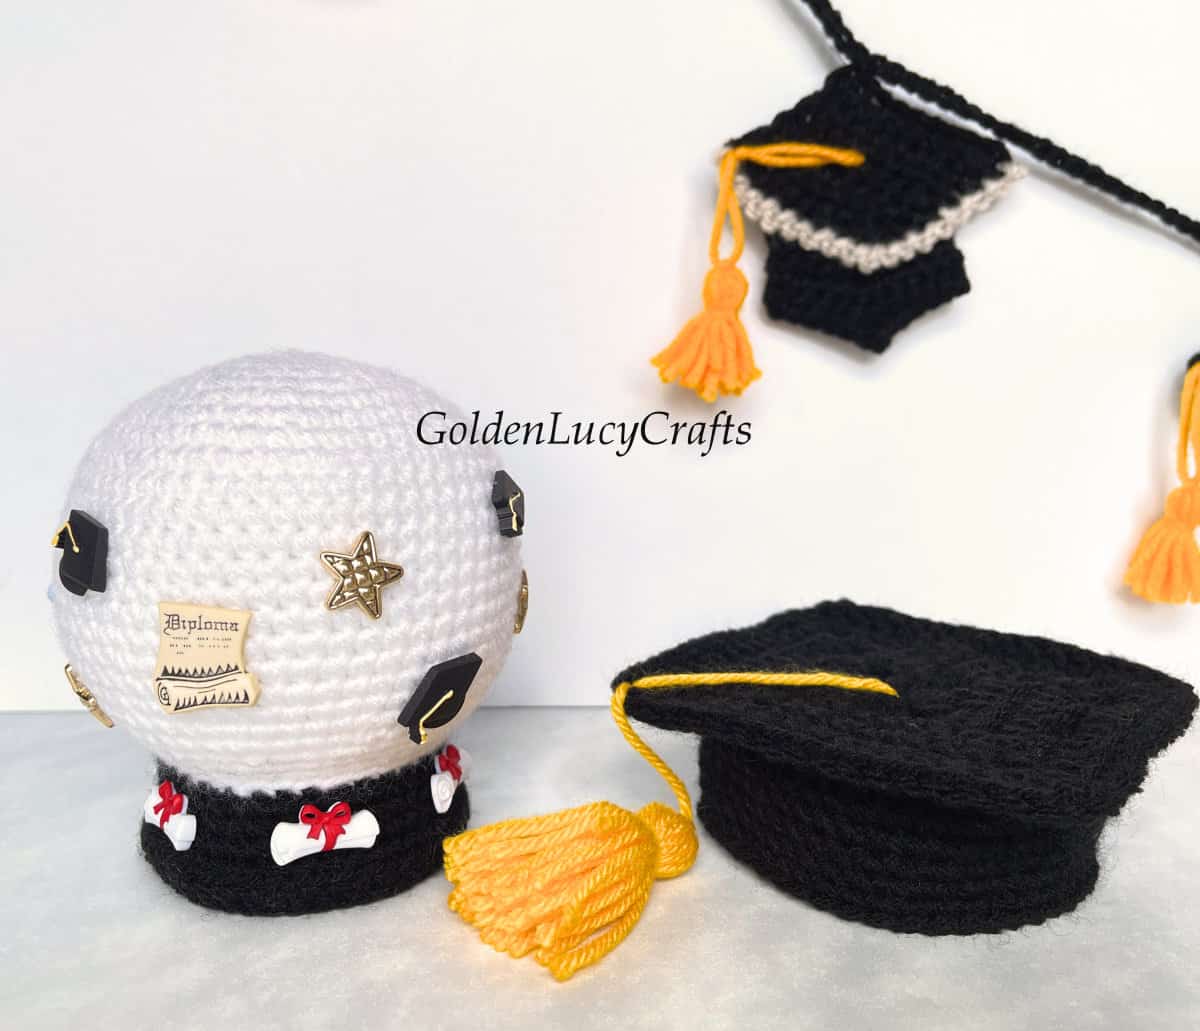
Graduation Cap
Graduation cap consists of base, top part, and a tassel.

Base
With crochet hook 4.5 mm and Color B, make magic ring;
Round 1. Ch 1, 6 SC in magic ring.
Round 2. 2 SC in each St around. Total – 12 SC.
Round 3. [2 SC in first St, SC in next St] 6 times. Total – 18 SC.
Round 4. SC in first, [2 SC in next St, SC in each of next 2 Sts] 5 times, 2 SC in next St, SC in next St. Total – 24 Sts.
Round 5. [2 SC in first St, SC in each of next 3 Sts] 6 times. Total – 30 Sts.
Round 6. SC in first St and in next St, [2 SC in next St, SC in each of next 4 Sts] 5 times, 2 SC in next St, SC in each of next 2 Sts. Total – 36 Sts.
Round 7. [2 SC in first St, SC in each of next 5 Sts] 6 times. Total – 42 Sts.
Round 8. SC in first St and in each of next 2 Sts, [2 SC in next St, SC in each of next 6 Sts] 5 times, 2 SC in next St, SC in each of next 3 Sts. Total – 48 Sts.
Round 9. BLO: SC in each St around. Total – 48 Sts.
Round 10 – 14. SC in each St around. Total – 48 Sts. Fasten off.
Top part
With crochet hook 4.5 mm and Color B, make magic ring;
Round 1. Ch 5 (counts as first DC and 2-Ch sp, now and throughout), [3 DC in ring, Ch 2] 3 times, 2 DC in ring, join with Sl St to 3rd Ch of Ch 5 in the beginning. Total – 12 DC.
Round 2. Sl St in next Ch, Ch 5, 2 DC in Ch-2 sp, DC in each of next 3 Sts, [(2 DC, Ch 2, 2 DC) in next Ch-2 sp, DC in each of next 3 Sts] 3 times, DC in sp before Ch 5, join with Sl St to 3rd Ch of Ch 5. Total – 28 DC and 4 Ch-2 sps.
Round 3. Sl St in next Ch, Ch 5, 2 DC in Ch-2 sp, DC in each of next 7 Sts, [(2 DC, Ch 2, 2 DC) in next Ch-2 sp, DC in each of next 7 Sts] 3 times, DC in sp before Ch 5, join with Sl St to 3rd Ch of Ch 5. Total – 44 DC and 4 Ch-2 sps.
Round 4. Sl St in next Ch, Ch 4 (counts as first DC and 1-Ch sp), 2 DC in Ch-2 sp, DC in each of next 11 Sts, [(2 DC, Ch 1, 2 DC) in next Ch-2 sp, DC in each of next 11 Sts] 3 times, DC in sp before Ch 4, join with Sl St to 3rd Ch of Ch 4. Total – 60 DC and 4 Ch-2 sps. Fasten off.
With Color C yarn, make a tassel.
Sew tassel to the center of the top part.
Sew top part on top of the base.
Finishing the snow globe
Stuff your snow globe and the base, leave some space at the bottom. Stuff the snow globe well, make sure it has a nice, spherical shape.
Using a sewing needle and saved long tail, start sewing the bottom to the base (don’t forget to insert the cardboard circle inside). Sew about ¾ of the diameter, add more stuffing as necessary. Add weighted material for stability, and finish sewing the bottom.
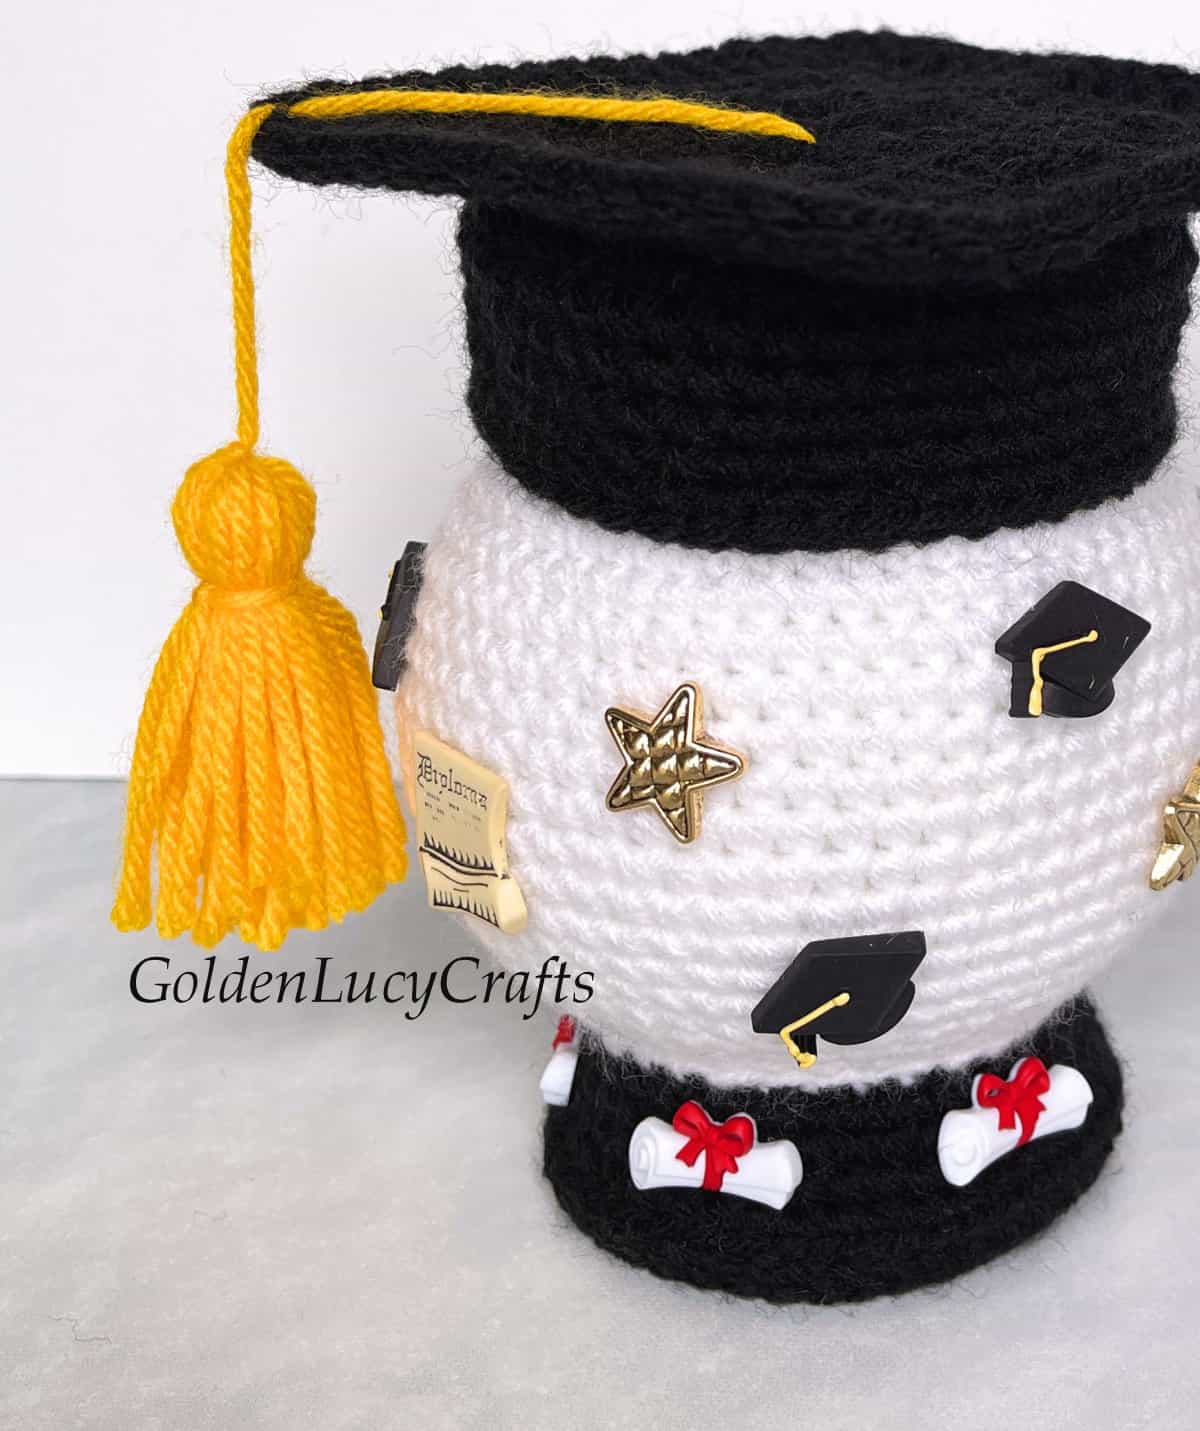
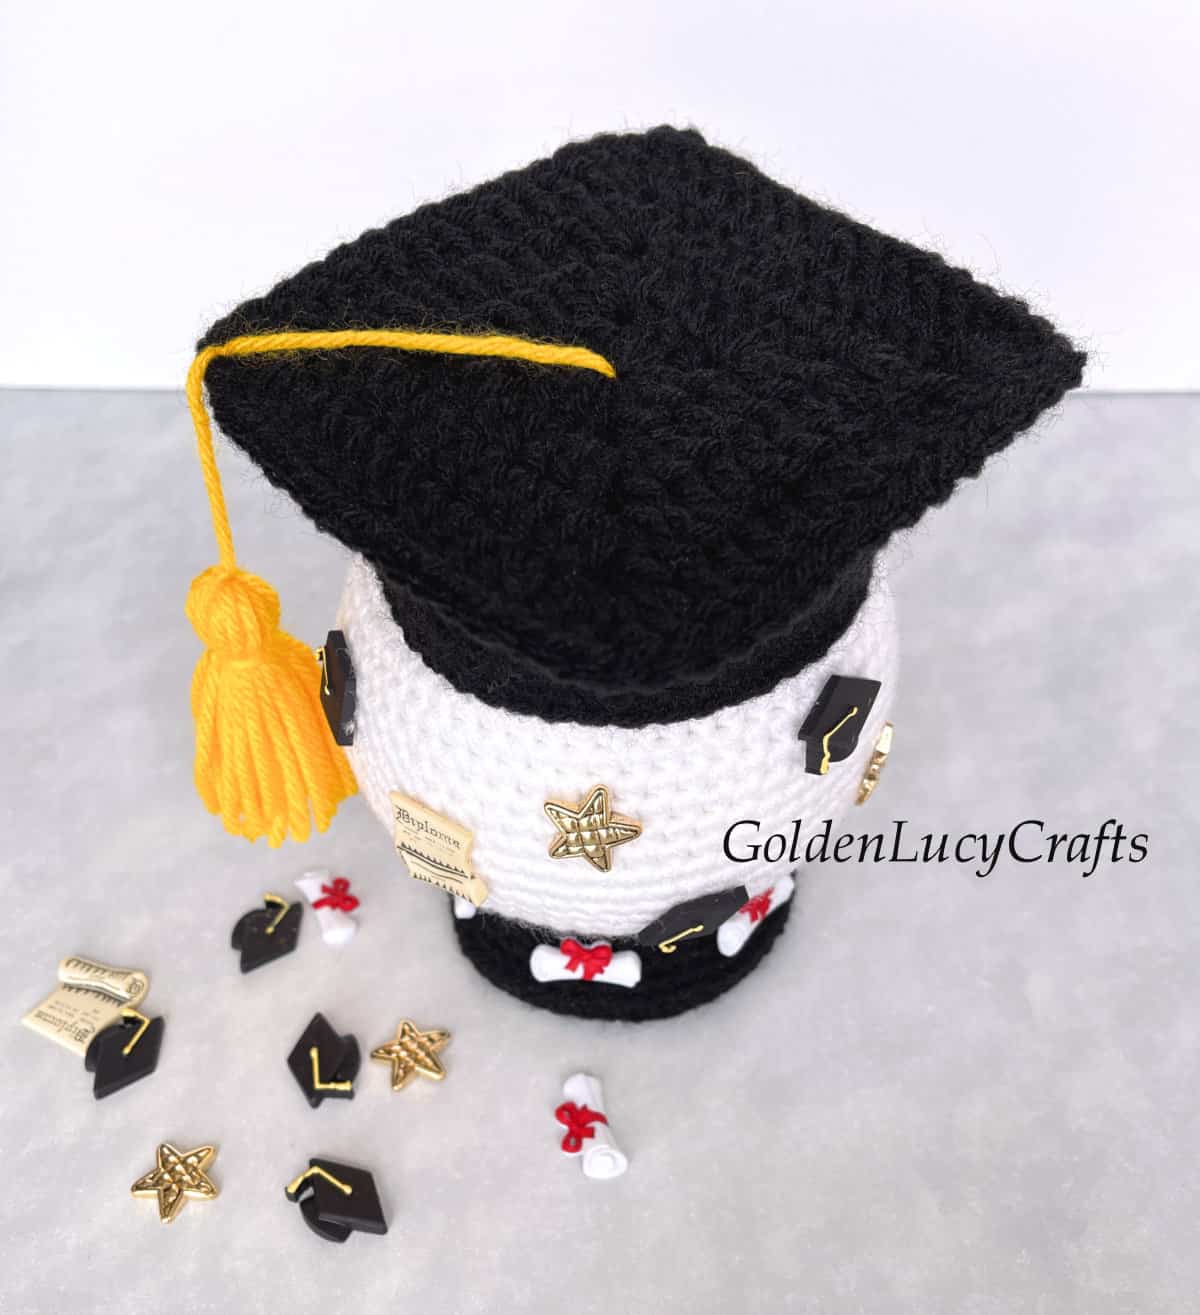
Your snow globe is now ready for embellishment. If your buttons have shanks, cut the shanks off.

Using a hot glue gun, glue the buttons to the snow globe. Do not glue buttons to the top part of the snow globe (where the cap is supposed to be).
With a sewing needle and sewing thread, carefully sew the cap onto the snow globe. If you want, you can add some polyfill to help the cap hold its form.
Congratulations! Your crochet snow globe is complete!
I hope you enjoyed this Graduation Snow Globe free crochet pattern!
Happy Crocheting!

Hello
I’m looking to make this pattern. I looked at the link but the buttons aren’t available. Do you have second choice for graduation buttons?
I reached out to the Etsy shop owner regarding the graduation buttons availability and she said that they will be restocked soon.
Thank you so much!!
You are very welcome!