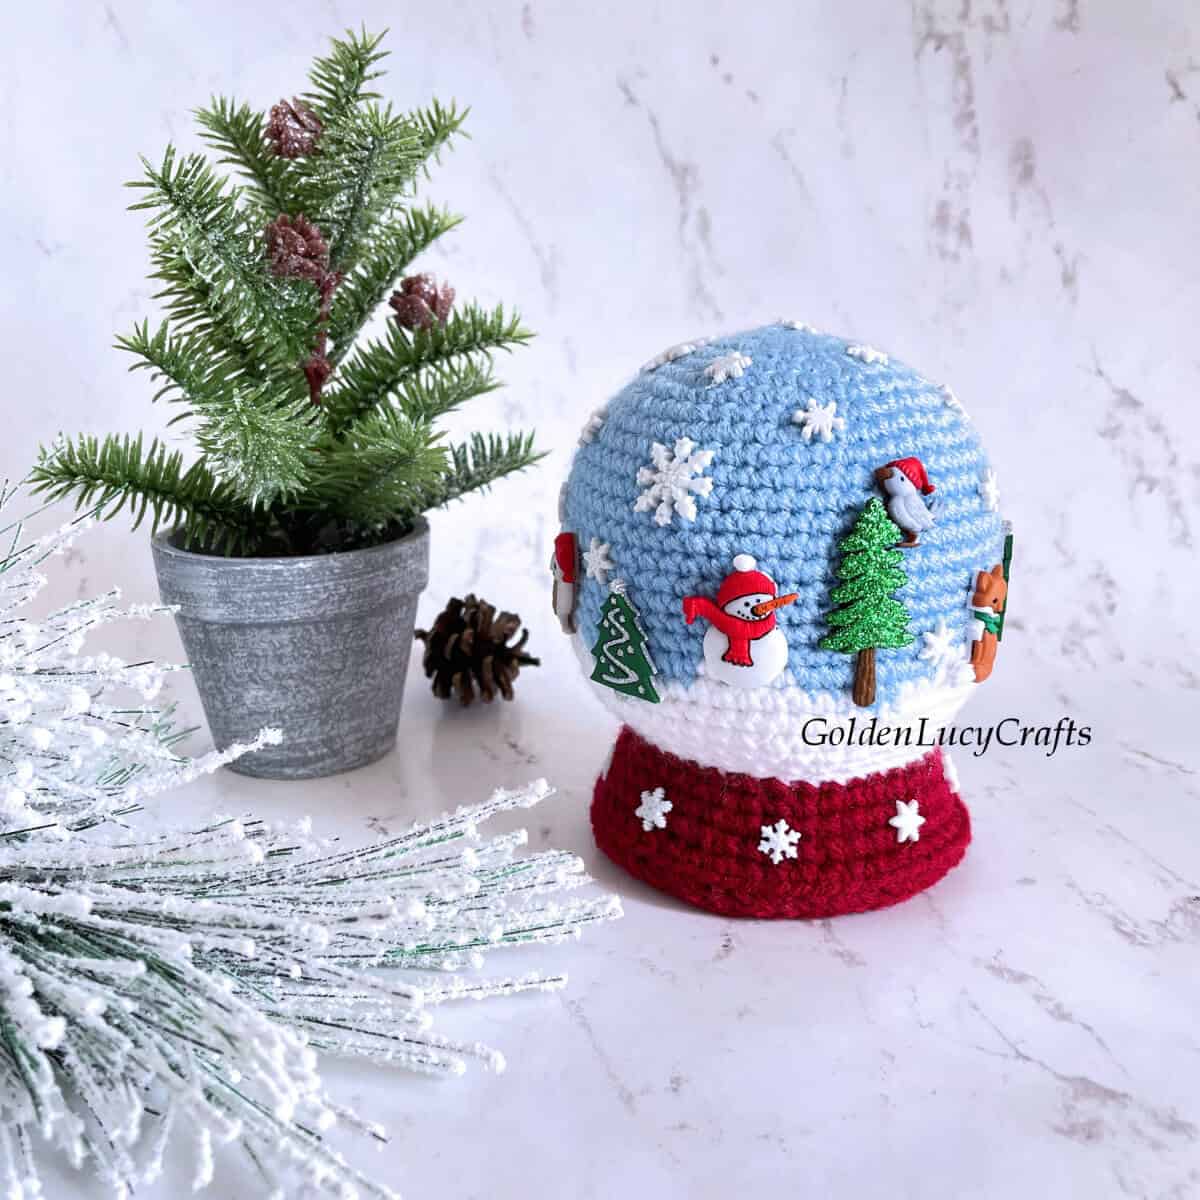
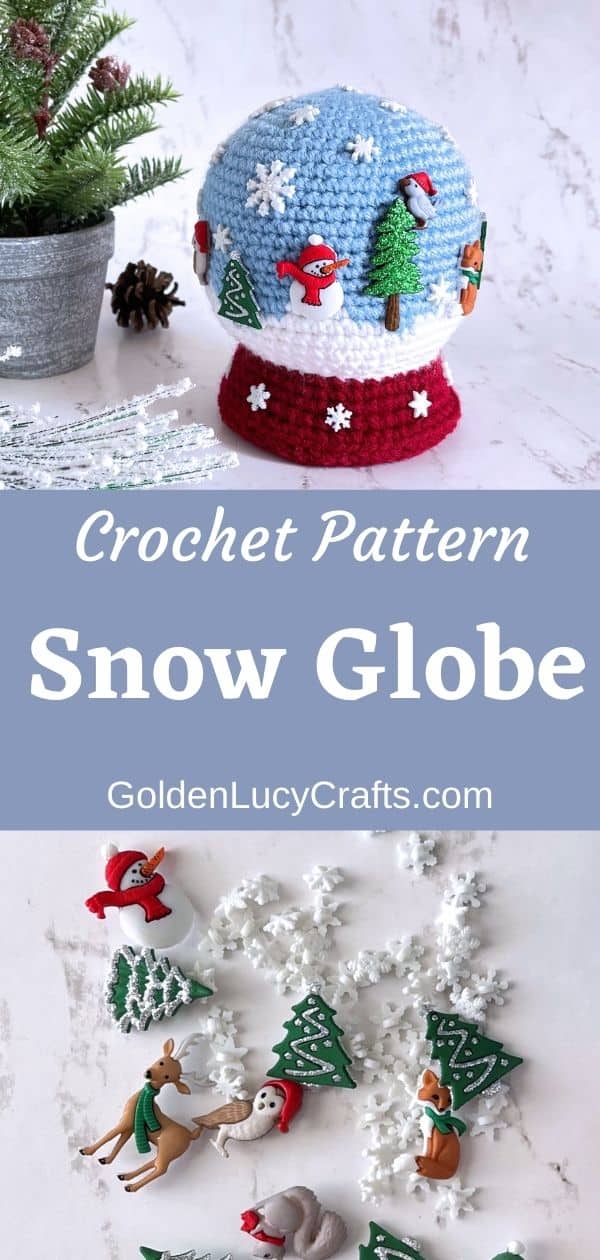
Make this charming crochet Snow Globe amigurumi as a classic symbol of winter, magic and holiday spirit! This crochet Snow Globe will make a beautiful handmade gift as well for your loved ones and friends.
This crochet Snow Globe was featured in Country Woman magazine Dec-Jan 2022 issue.
Disclosure: This post contains affiliate links, which means if you make a purchase from one of these links I will get a commission. As an Amazon Associate I earn from qualifying purchases.
Snow Globes are collected by many people and if you are among them, I hope you will make my crochet Snow Globe amigurumi to add it to your collection!
You may also like these Christmas-themed snow globes: crochet Santa Belly snow globe and crochet Elf Belly snow globe.
Here are my other snow globes: Lilac snow globe, Halloween snow globe, Valentine’s Day snow globe, St. Patrick’s Day snow globe, and Easter snow globe.
I like to incorporate craft buttons in my crochet designs. Here are some examples – crochet Gingerbread hearts, Lavender and Bees crochet wall art, Flamingo Love crochet wall art, and Mother’s Day crochet heart.
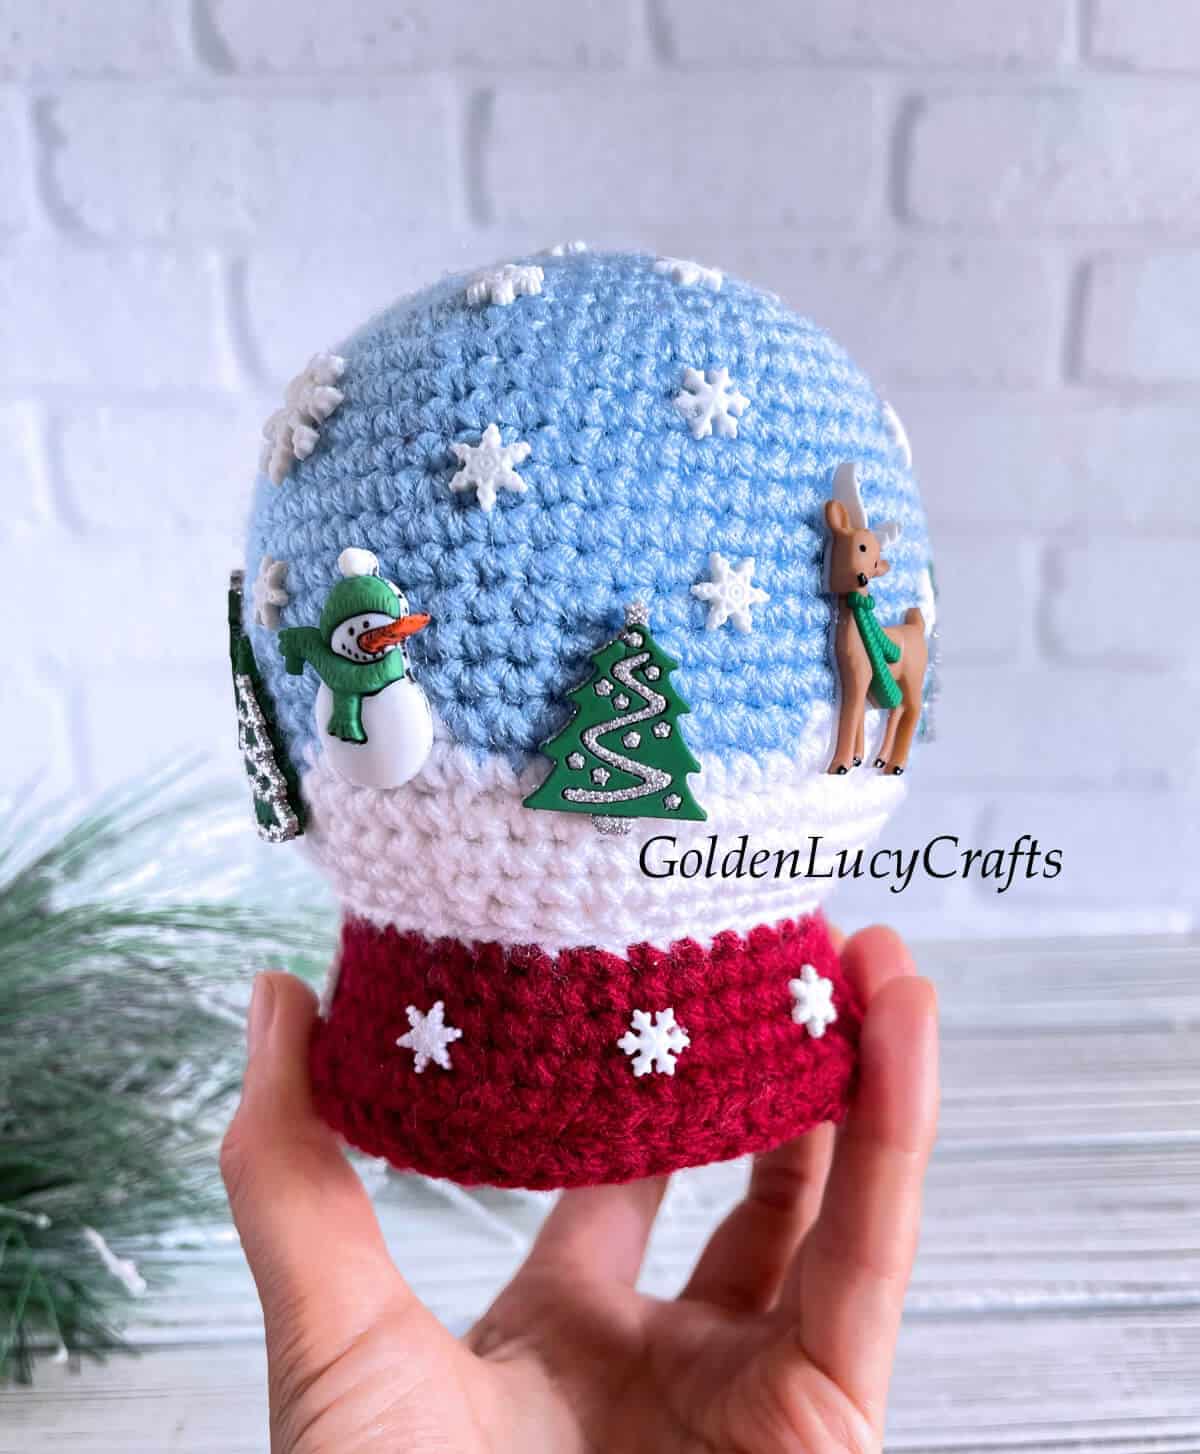
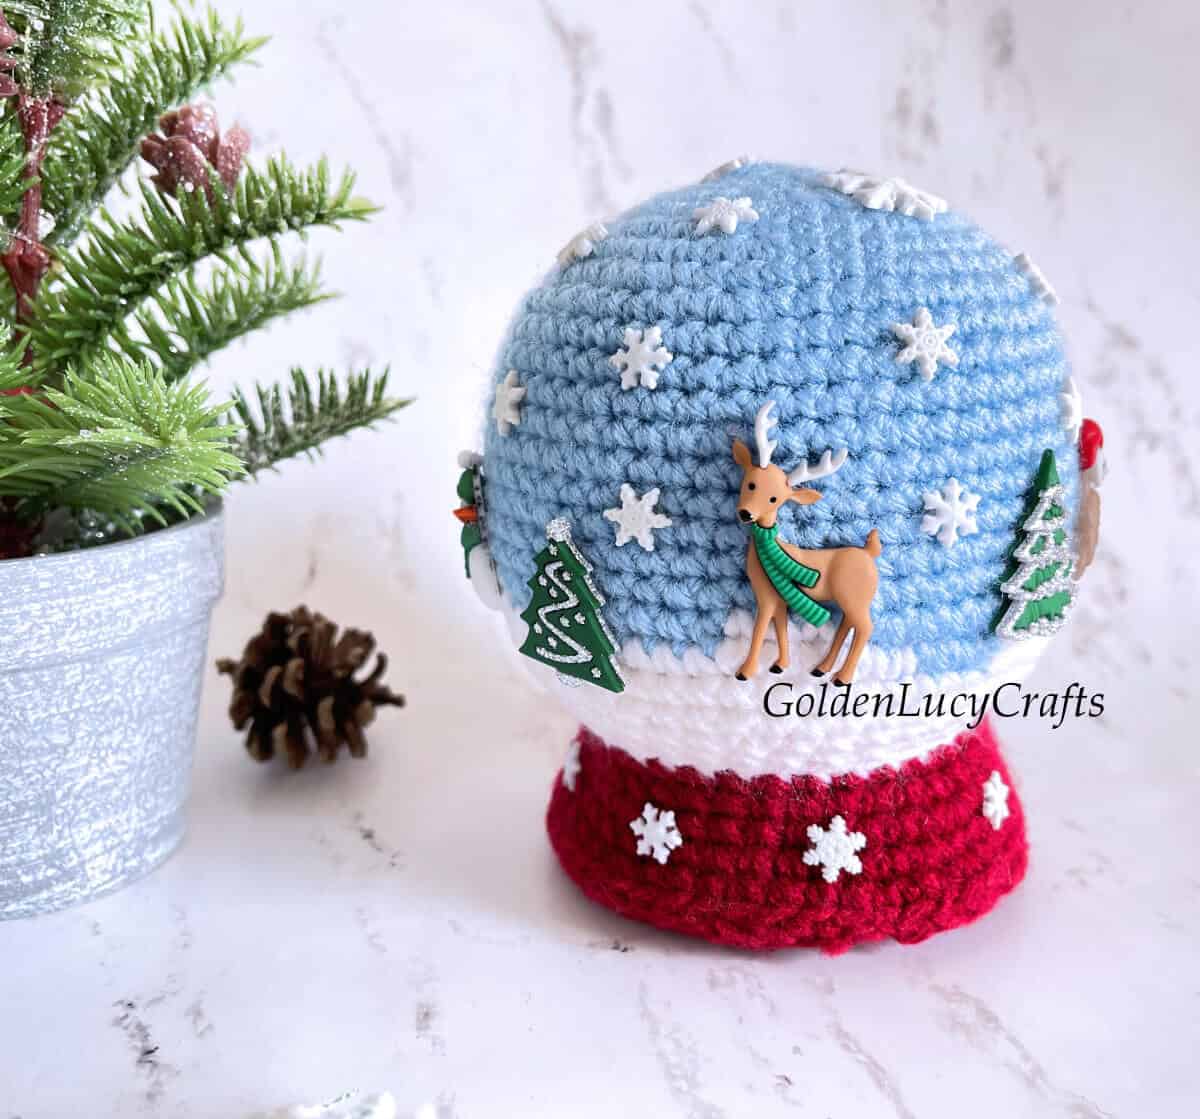
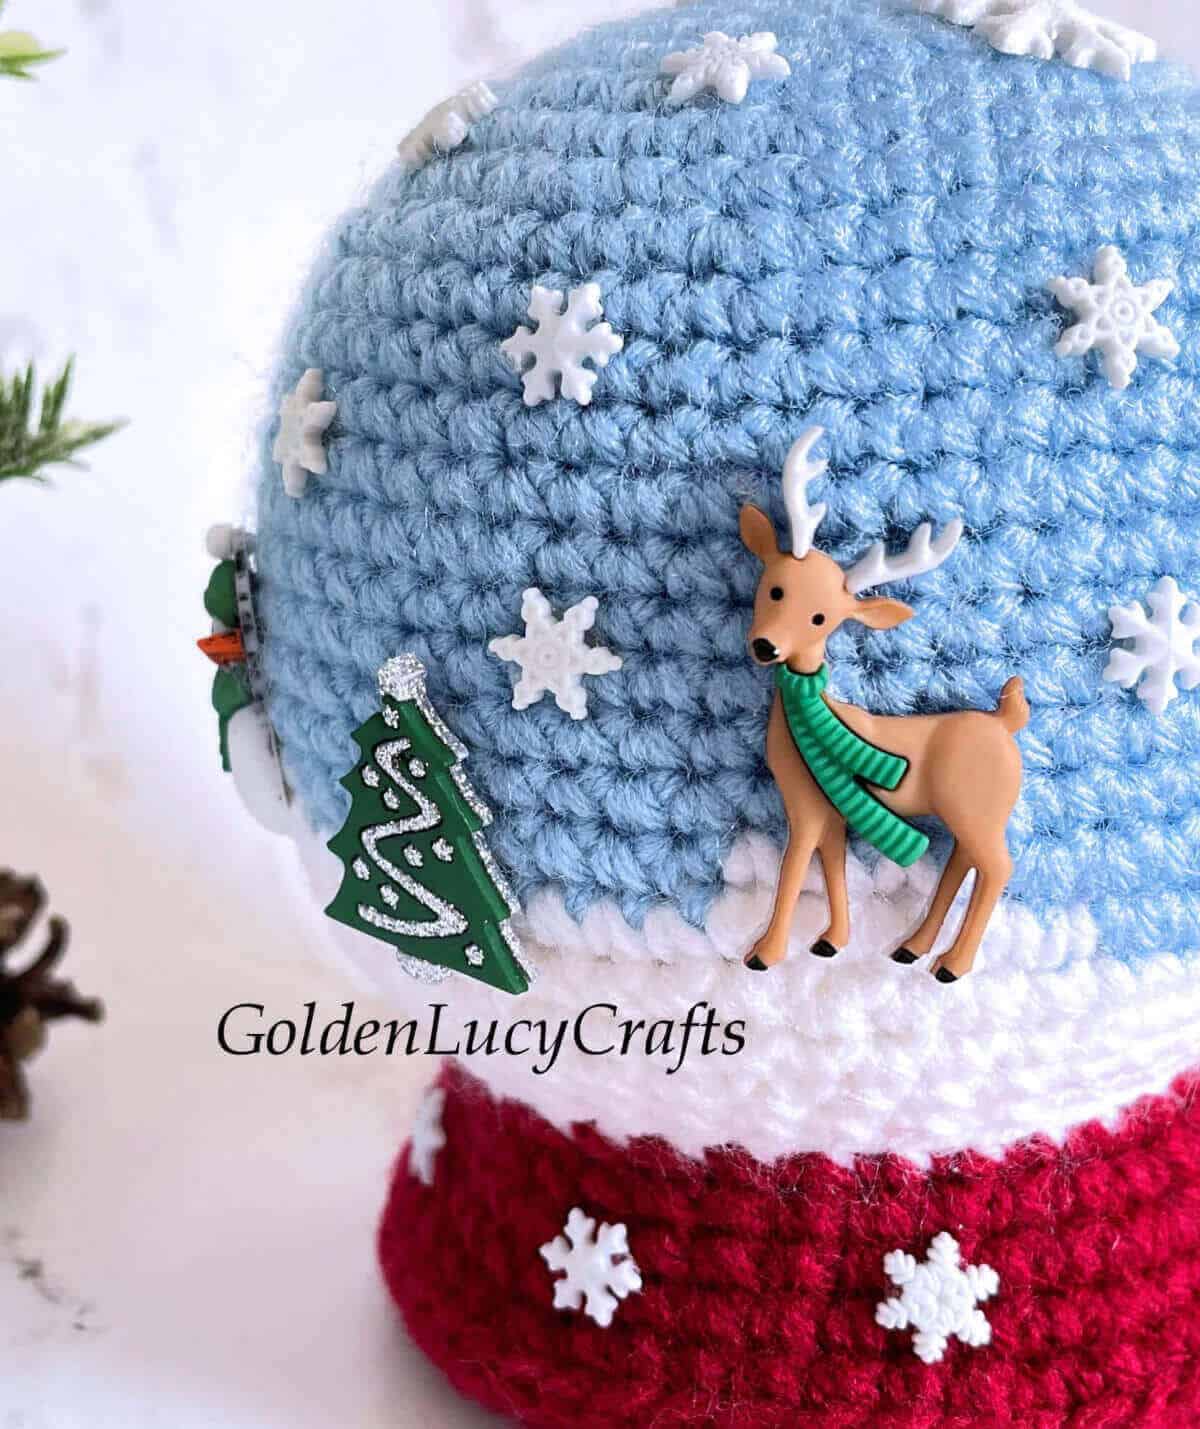
To create a winter scene for my crochet Snowglobe, I used winter-themed craft buttons – snowflakes, Christmas trees, snowmen, and woodland animals.
You may also like my other popular Christmas decorations: crochet Gingerbread hearts garland, crochet Christmas pudding, crochet Christmas emojis and crochet Christmas Heart Angel.
More of my crochet Christmas ornament ideas can be found in this post crochet Christmas Ornaments Free Pattern Collection and under the tag Christmas.
Make sure to also check out my crochet Halloween snow globe and crochet Valentine’s Day snow globe!
Snow Globe Amigurumi – Crochet Pattern
The pattern for this crochet Snowglobe is also available as a print-friendly, styled, and advertisement-free PDF file. You can get it from my Etsy Shop HERE.
You can add this Snow Globe crochet pattern to your Ravelry library HERE.
You can PIN this pattern to your Pinterest boards for later HERE.
Abbreviations:
BLO – back loop only
Ch – chain
SC- single crochet
Sl St – slip stitch
St (Sts) – stitch (stitches)
Skill Level:
Intermediate (must know tapestry crochet)
Finished Size:
This crochet Snow Globe is about 5” (13 cm) tall
Yarn:
Red Heart Super Saver medium weight #4 yarn. Color A – light blue, Color B – white, Color C – burgundy
Hook and Other Materials:
Crochet hook E/4 (3.5 mm)
Stitch marker
Large sewing needle
Piece of cardboard
Scissors
Hot glue gun
Weighted stuffing material (I used Poly Pellets weighted stuffing beads)
Winter -themed buttons of your choice (try to get flat back buttons. If you get shank buttons, you will need to remove the shanks). I like to buy buttons on Etsy. Here are the buttons I used:
You will also need a craft cutter to remove the shanks
Find my favorite craft and crochet supplies HERE!
Notes:
- How to change to a new color
Work the final stitch with the first color, but do not complete the stitch. You will have 2 loops remain on the hook. Drop first color and draw through the loops on the hook new color and complete the stitch.
2. The snow globe is worked in continuous rounds. Use stitch marker to mark first stitch of each round.
3. This pattern uses tapestry crochet technique – working over the color not in use. To carry the unused color, lay it on top of the previous row and work over it.
Special Stitches
INV DEC (invisible decrease) – put hook through the front loop only of two consecutive stitches. You have three loops on hook. Yarn over and pull through two loops. You have two loops on hook. Yarn over and pull through those two loops.
Instructions:
Snow globe
With Color A, make magic ring;
Copyright: This pattern is an original design by GoldenLucyCrafts. You may not copy, rewrite, redistribute or resell this pattern in any form, this includes making video tutorials. You may not translate this pattern to another language and publish the pattern or any parts of it.
Round 1. Ch 1, 6 SC in magic ring. Total – 6 SC.
Round 2. 2 SC in each St around. Total – 12 SC.
Round 3. [2 SC in first St, SC in next St] 6 times. Total – 18 SC.
Round 4. SC in first St, [2 SC in next St, SC in each of next 2 Sts] 5 times, 2 SC in next St, SC in next St. Total – 24 SC.
Round 5. [2 SC in first St, SC in each of next 3 Sts] 6 times. Total – 30 SC.
Round 6. SC in first St and in next St, [2SC in next St, SC in each of next 4 Sts] 5 times, 2 SC in next St, SC in each of next 2 Sts. Total – 36 SC.
Round 7. [2SC in first St, SC in each of next 5 Sts] 6 times. Total – 42 SC.
Round 8. SC in first St and in each of next 2 Sts, [2SC in next St, SC in each of next 6 Sts] 5 times, 2 SC in next St, SC in each of next 3 Sts. Total – 48 SC.
Round 9. [2SC in first St, SC in each of next 7 Sts] 6 times. Total – 54 SC.
Round 10. SC in first St and in each of next 3 Sts, [2SC in next St, SC in each of next 8 Sts] 5 times, 2 SC in next St, SC in each of next 4 Sts. Total – 60 SC.
Round 11- 19. SC in each St around.
Round 20. A:(SC – 4), B:(SC – 4), A:(SC – 9), B:(SC – 4), A:(SC – 7), B:(SC – 5), A:(SC – 7), B:(SC – 4), A:(SC – 7), B:(SC – 6), A:(SC – 3). Total – 60 SC.
Round 21. A:(SC – 3), B:(SC – 20), A:(SC – 3), B:(SC – 9), A:(SC – 3), B:(SC – 9), A:(SC – 2), B:(SC – 11). Total – 60 SC.
Continue with Color B.
Round 22. [SC in each of next 8 Sts, INV DEC] 6 times. Total – 54 SC.
Round 23. SC in each of next 3 Sts, INV DEC, [SC in each of next 7 Sts, INV DEC] 5 times, SC in each of next 4 Sts. Total – 48 SC.
Round 24. [SC in each of next 6 Sts, INV DEC] 6 times. Total – 42 SC.
Round 25. SC in each of next 2 Sts, INV DEC, [SC in each of next 5 Sts, INV DEC] 5 times, SC in each of next 3 Sts. Total – 36 SC.
Round 26. Sl St in each St around. Fasten off Color B. Total – 36 Sl Sts.
Continue working on base. Join Color C to first St of previous round,
Round 1. Ch 1, BLO: SC in same St and in each of next 7 Sts, 2 SC in next St, [SC in each of next 8 Sts, 2 SC in next] 3 times. Total – 40 SC.
Round 2. SC in each St around. Total – 40 SC.
Round 3. [SC in each of next 9 Sts, 2 SC in next St] 4 times. Total – 44 SC.
Round 4. SC in each St around. Total – 44 SC.
Round 5. [SC in each of next 10 Sts, 2 SC in next St] 4 times. Total – 48 SC.
Round 6. SC in next St, Sl St in each of next 2 Sts. Fasten off.
Bottom
With Color C, make magic ring;
Round 1. Ch 1, 6 SC in magic ring.
Round 2. 2 SC in each St around. Total – 12 SC.
Round 3. [2 SC in first St, SC in next St] 6 times. Total – 18 SC.
Round 4. SC in first, [2 SC in next St, SC in each of next 2 Sts] 5 times, 2 SC in next St, SC in next St. Total – 24 Sts.
Round 5. [2 SC in first St, SC in each of next 3 Sts] 6 times. Total – 30 St
Round 6. SC in first St and in next St, [2 SC in next St, SC in each of next 4 Sts] 5 times, 2 SC in next St, SC in each of next 2 Sts. Total – 36 St
Round 7. [2 SC in first St, SC in each of next 5 Sts] 6 times. Total – 42 Sts.
Round 8. SC in first St and in each of next 2 Sts, [2 SC in next St, SC in each of next 6 Sts] 5 times, 2 SC in next St, SC in each of next 3 Sts. Total – 48 Sts. Leave long tail for sewing bottom to the base.
Stuff your snow globe and the base, leave some space at the bottom. Stuff the snow globe well, make sure it has a nice, spherical shape.
Cut out a circular piece of cardboard that is slightly smaller than the diameter of the bottom. A compass is very useful for this purpose.
Using a sewing needle and saved long tail, start sewing the bottom to the base (don’t forget to insert the cardboard circle inside). Sew about ¾ of the diameter, add more stuffing as necessary. Add weighted material for stability, and finish sewing the bottom.
Your snow globe is now ready for embellishment!
If your buttons have shanks, cut the shanks off.
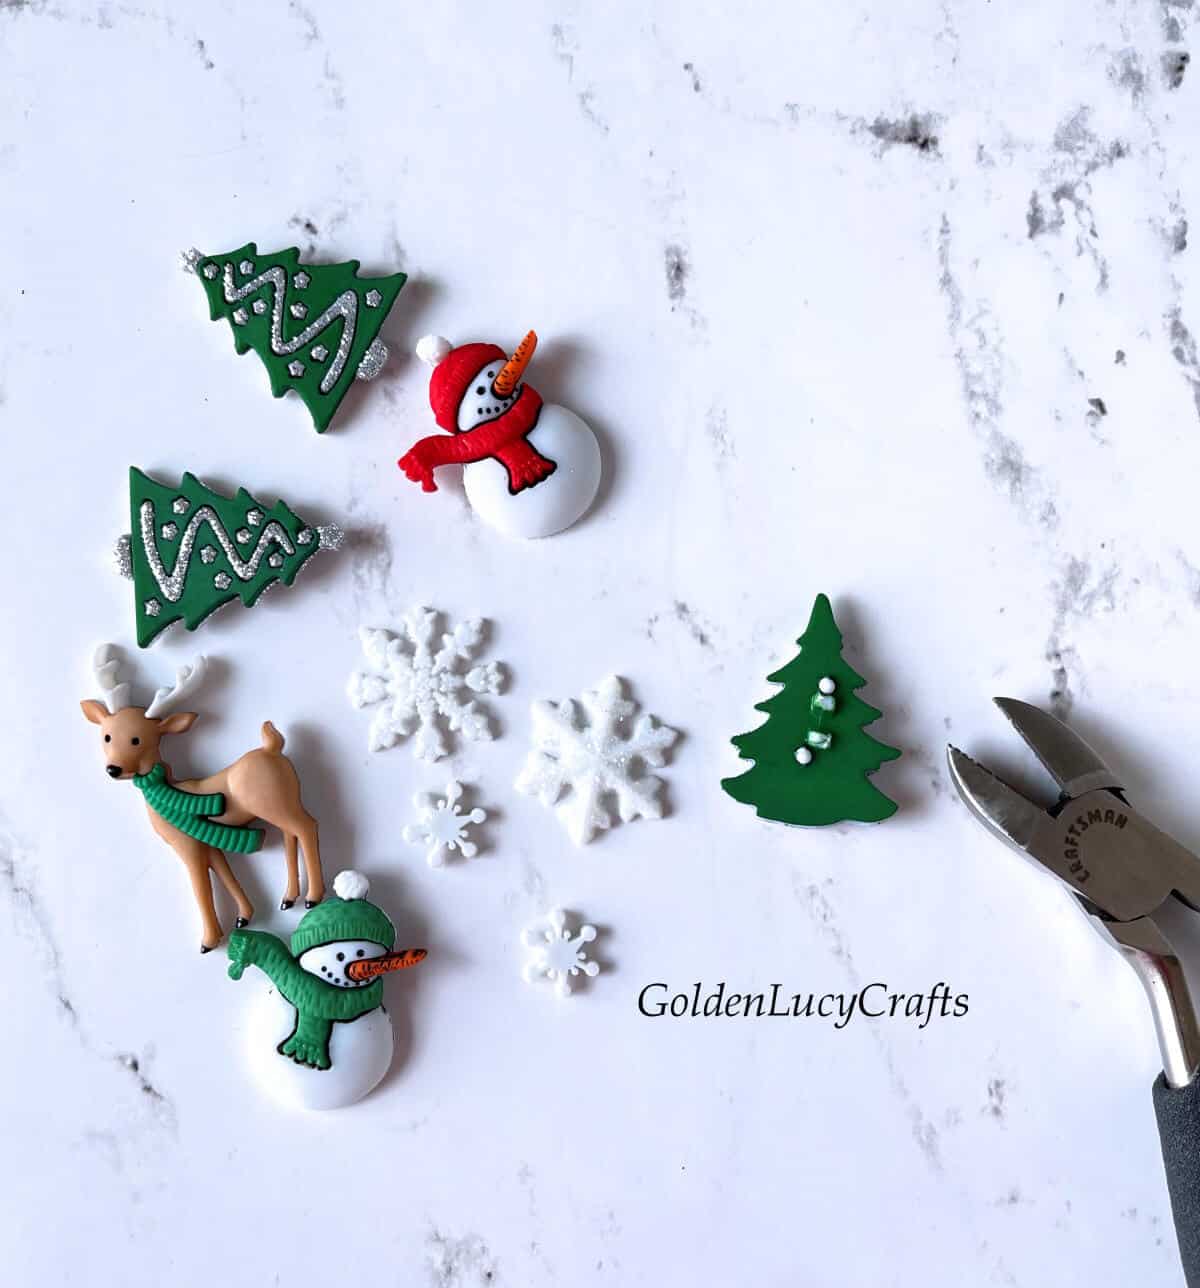
Using a hot glue gun, glue the buttons to the snow globe in any pattern that you like.
Congratulations! Your crochet snow globe is complete!
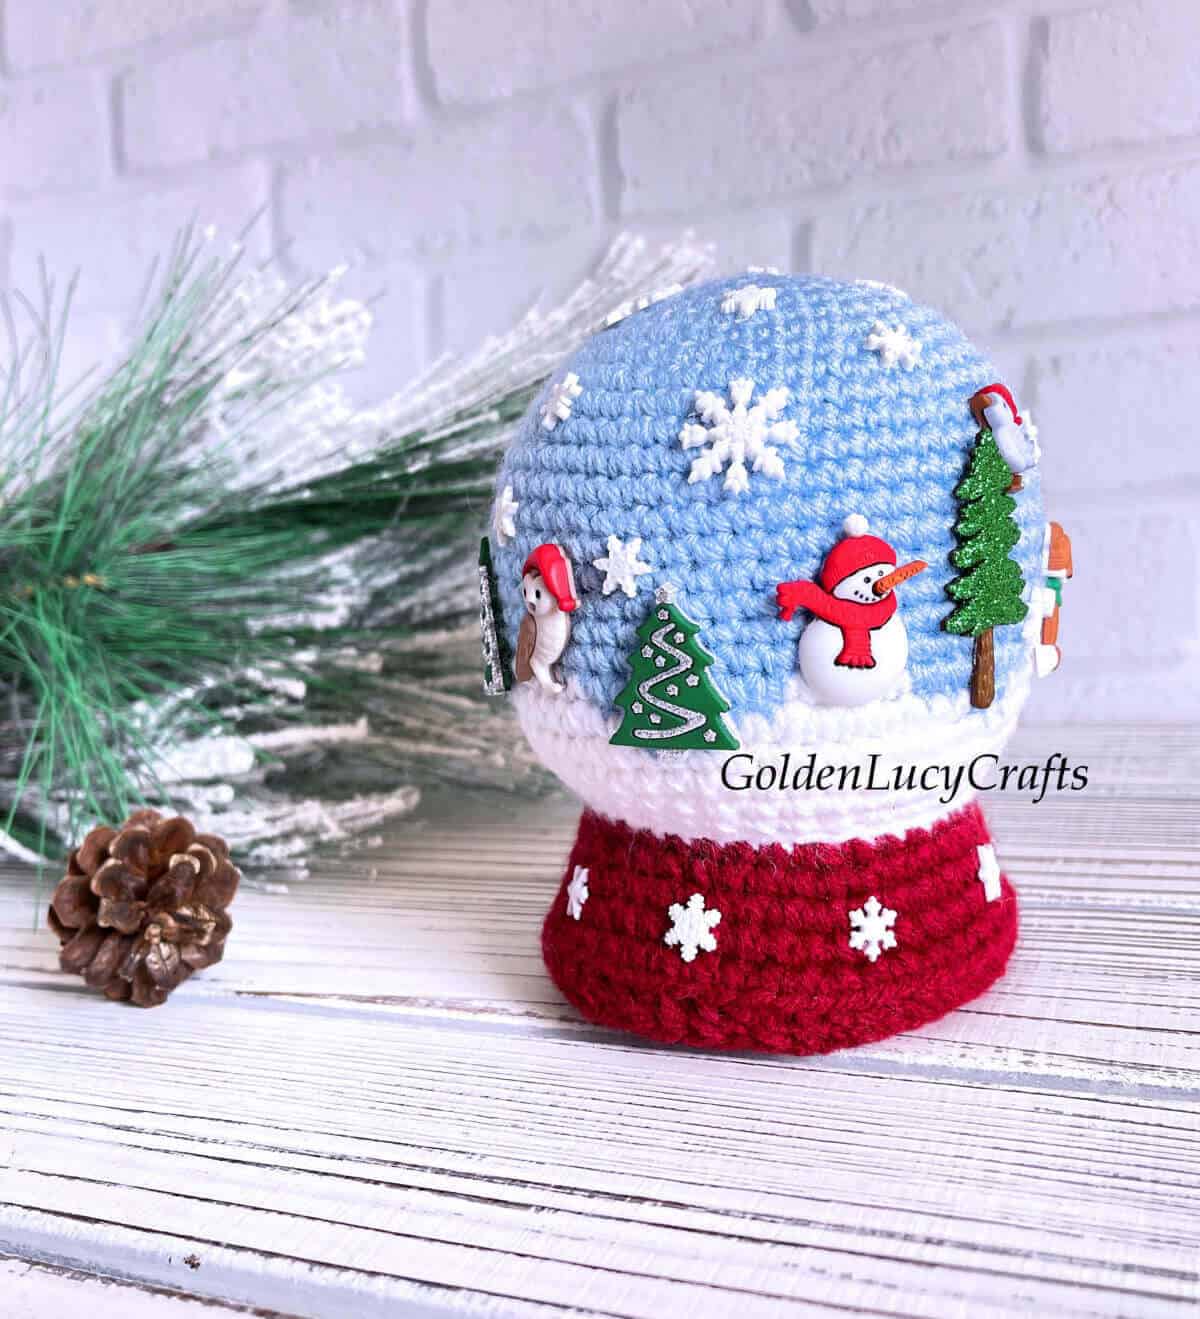
I hope you enjoyed this Snow Globe free crochet pattern!
Happy Crocheting!

For more crochet patterns, craft ideas, and fun projects follow GoldenLucyCrafts on Facebook, Pinterest, Twitter, and Instagram!
You may also like:
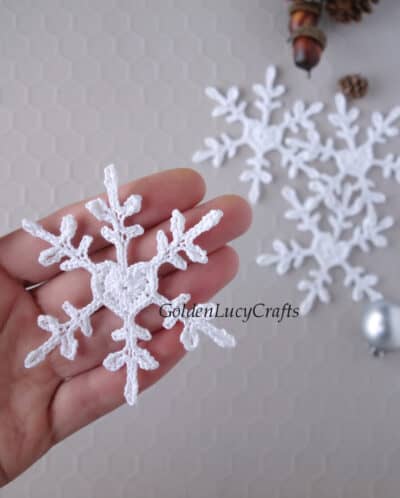
Crochet Heart Snowflake
Crochet Christmas Garland
So Cute! Great job!
Thank you! I am glad that you like it!
hi i have a ?for your snow globe it says 2sc infirst st do u call that an inc st and is counted as 1 st or 2 st thank you sandie can you get back to me that please thank you
2 sc counded as 2 stitches.
This is a very creative idea. Love the look and no worry about dropping and breaking.
Thank you for the pattern.
You are very welcome! I am glad that you like my snow globe!
Hi! Do you have a video tutorial snow globe pattern? If so how can I find it. Thanks.
Sorry, I don’t have a video for this pattern.
Thank you for the pattern for your adorable Snow Globe. It is absolutely beautiful.
Thank you for your kind words! I am happy to hear that you like it!
My snow globe came out way too big. I used the same yarn you recommended.
Which hook size did you use?
One of the cutest Christmas decorations ever!!!
Thank you so much! I am glad that you like it!
Thank you for the pattern. It was easy to crochet because your instructions we ready to follow. It turned out great.
You are very welcome! I am glad that you enjoyed this pattern!
I love this!! My problem is that I will not be able to do the tapestry crochet. I am older and I am sure my hands wouldn’t enjoy doing it. Can it be made without it?
Yes, you can make the snow globe sphere in one color.
Just finished this gorgeous snow globe. Thank you for the pattern it was so easy to follow. I loved doing it.
I am glad to hear that you enjoyed my snow globe pattern!
Thank You For The Pattern. I will be making this for my granddaughter she has been collecting snow globes for many years. Won’t have to worry about it getting broken in shipping.
Thank You Again.
You are very welcome! I hope your granddaughter will like it!
I turned mine into a music box that turns. I love it!! Thank you.
What a great idea!
So very cute! My first foray into amigurumi… so I do have a question.
Are there any tips for first timers in stuffing the globe so it looks more spherical, and less like the Taj Mahal (or a hot air balloon)?
The snow globe needs to be stuffed firmly, push the stuffing down and sideways as well to avoid an oval shape. There is a wonderful article with tips for stuffing amigurumi
written by Stephanie from Grace and Yarn: https://www.graceandyarn.com/2019/05/tips-for-stuffing-amigurumi.html. Hope this will help as well.
Is there a free pattern for snow globe please,
Free pattern is here: https://www.goldenlucycrafts.com/snowglobe-crochet-pattern/
I’m so excited by this pattern – just wish I had found it sooner so I could have done it for Christmas presents this year! But I’m already planning on about 8 or 9 of them geared specifically toward certain people. 😀
Two questions:
1 -The cardboard round – is that to keep the pellets from sifting up into the globe section or is that to line the very base under the pellets?
2 – The pellets themselves – about how much did you use in the snowglobe? The full 2-lb. bag?
Thank you for this wonderful pattern and for any extra guidance you can give me. I can’t wait to make these!
Hi Jean,
I am glad to hear that you like my snow globe and planning to make it!
The cardboard goes on the very bottom under the crocheted base. The purpose of the cardboard is to have the bottom of the snowglobe flat.
The pellets are needed for stability, I used about 1/2 cup. You add them at the very end. First, stuff the snow globe and the base with poli-fil stuffing, leave some space at the bottom. Start sewing the bottom to the base (insert the cardboard circle inside). Sew about ¾ of the diameter, add more stuffing as necessary, add pellets, and finish sewing the bottom.
Thank you so much! Finished my first one last night and it turned out great! Thank you! Thank you! Thank you!
You are very welcome! I am happy that you like my snow globe!
Love this pattern and the subsequent variations!!!
I made my first one and it went well. Not great but that’s on me not you. Looking forward to doing it again and getting better at it.
I had two questions about the cardboard and pellets but they have been answered already! So helpful!! So, I Just want to say how much i like this and thank you!!
chris
You are very welcome! I am glad to hear that you like my snow globe design. If you have any questions, please feel free to email me at [email protected].
I was disappointed that those same embellishments were permanently unavailable but I did enjoy making for myself and will look at local craft store for similar items
Thank you
I just checked the buttons links that I provided. I see that all listings are available and only one listing for the snowman buttons is sold out. I found the same buttons in another Etsy shop: https://www.etsy.com/listing/930229437/dress-it-up-have-a-cool-yule-buttons
Love this Winter Wonderland version!
Thank you so much!
Gracias por compartir estás bellezas
i love your snow globe i wish you had a video on it sure would be helpful to me thank you sandie
Yes, I am planning to make a video.