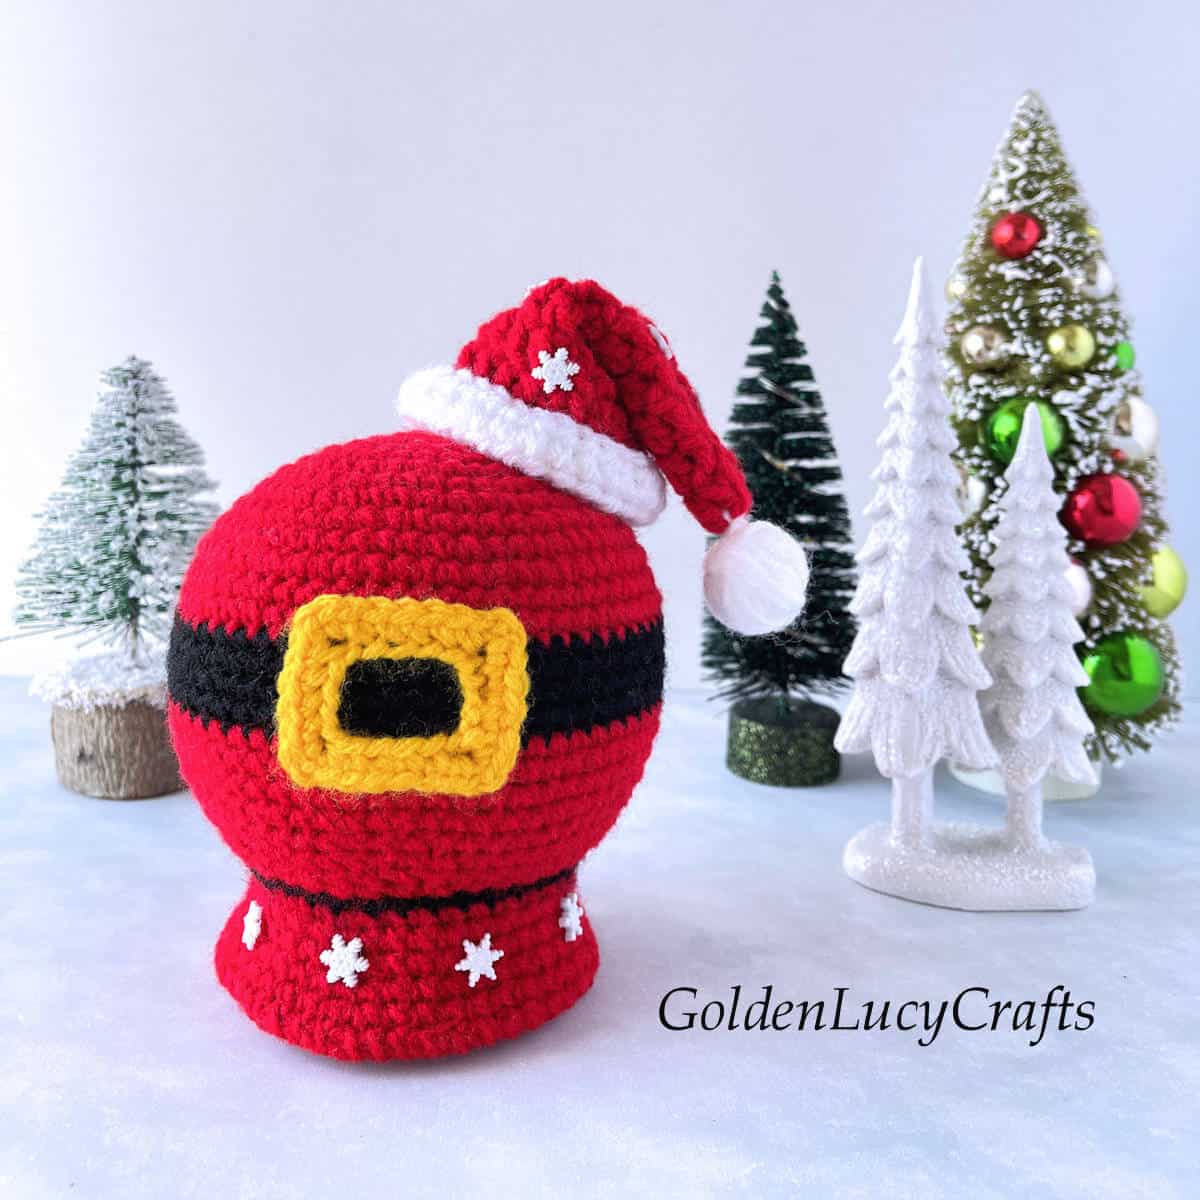
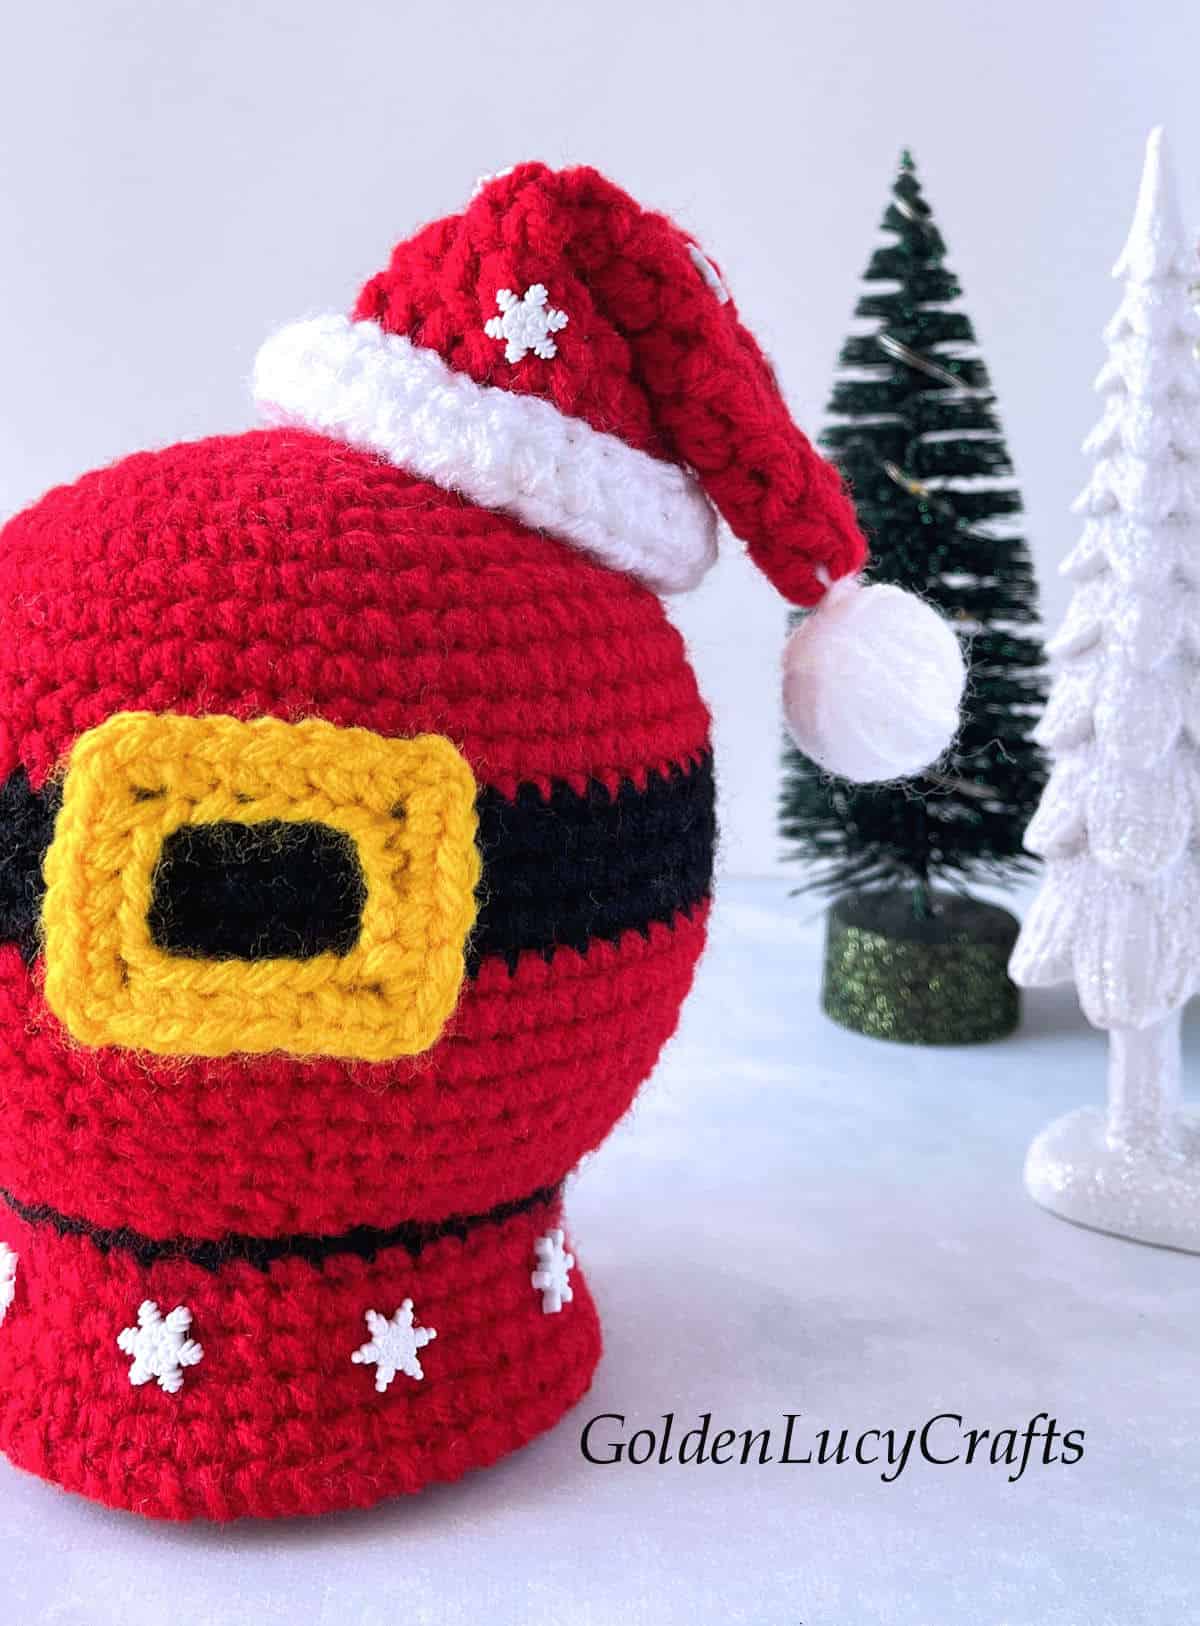
This adorable crochet Santa Belly Snow Globe will make a great addition to your Christmas décor. Make it for yourself or for your family and friends who love snow globes.
Disclosure: This post contains affiliate links, which means if you make a purchase from one of these links I will get a commission. As an Amazon Associate I earn from qualifying purchases.
This Santa Belly snow globe is my 11th crochet snow globe. The first original snow globe design is a classic Winter snow globe. That design was also featured in Country Woman Magazine.
Here are some of my other snow globes: Valentine’s Day snow globe, St. Patrick’s Day snow globe, Graduation snow globe, Lilac snow globe, Ladybug snow globe, Pumpkin snow globe, and Easter snow globe.
All crochet snow globe designs can be found under the tag: Snow Globe.
You may also like these popular Christmas patterns: crochet Winter ornaments, crochet Melted Snowman, crochet Heart Gnome, crochet Heart Angel, and crochet Heart Snowflake.
All my Christmas crochet patterns can be found on this blog under the tag Christmas.
Santa Belly Snow Globe – Crochet Pattern
The pattern for this crochet Santa Belly Snow Globe is also available as a print-friendly, styled, and advertisement-free PDF file. You can get it from my Etsy shop. Free pattern is below.
You can add this pattern to your Ravelry library HERE.
You can PIN this pattern to your Pinterest boards for later HERE.
Abbreviations:
BL, BLO – back loop, back loop only
Ch – chain
DC – double crochet
HDC – half double crochet
SC – single crochet
Sl St – slip stitch
St (Sts) – stitch (stitches)
Skill Level:
Intermediate
Finished Size:
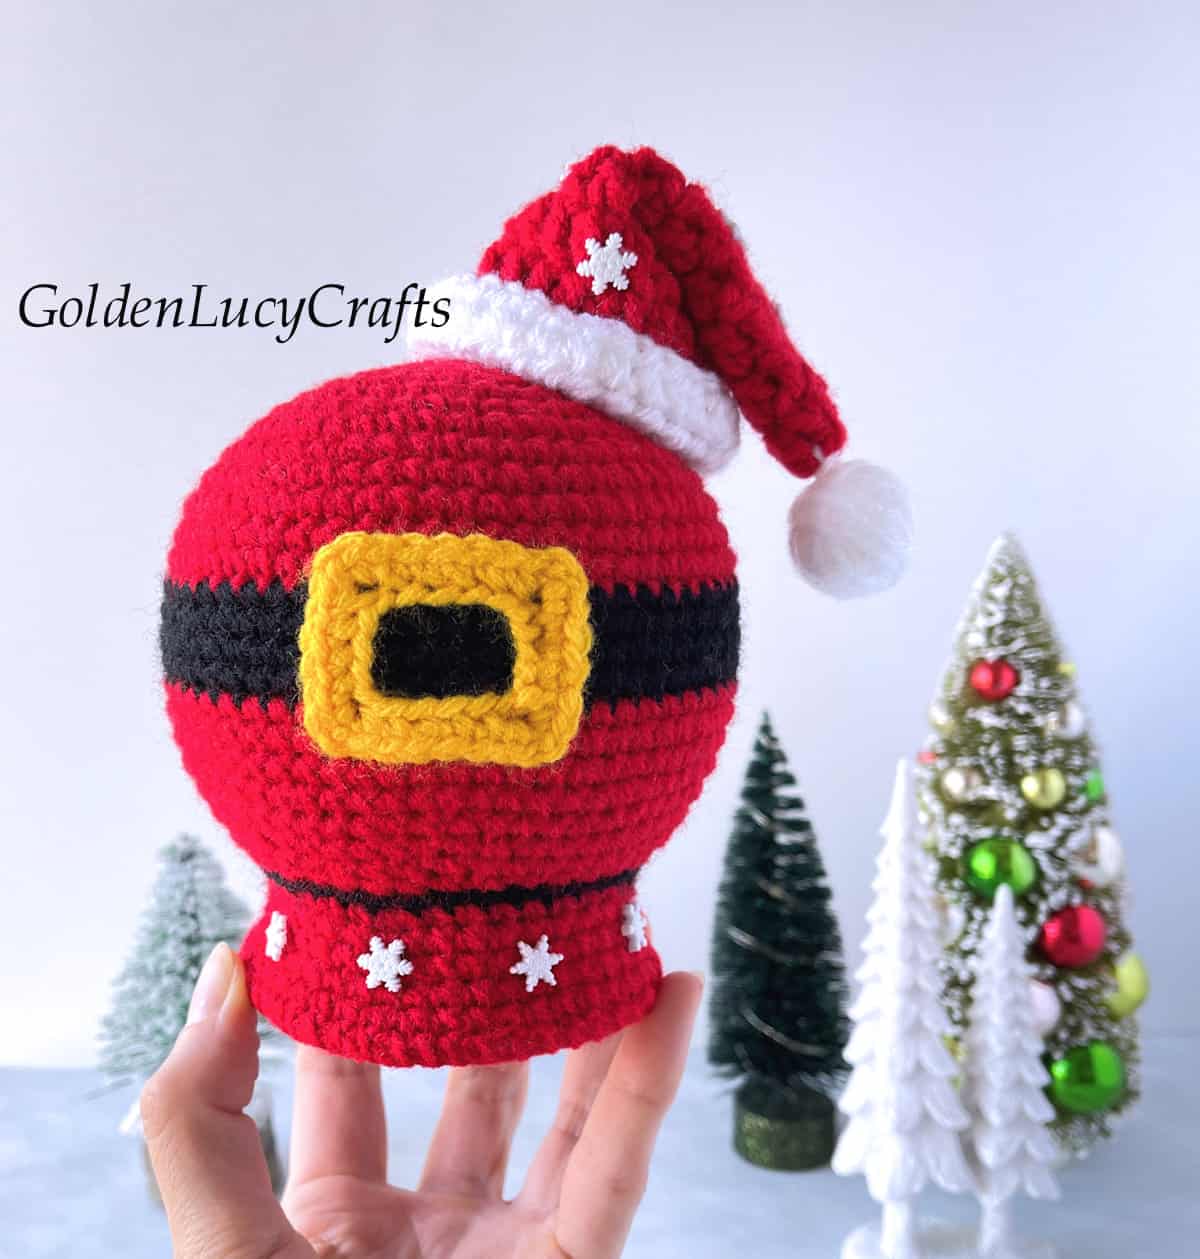
This crochet Santa belly snow globe is about 5” (13 cm) tall without a hat.
Yarn:
- Red Heart Super Saver medium weight #4 yarn. Color A – red, Color B – black, Color C – yellow
Hook and other materials:
- Crochet hook E/4 (3.5 mm)
- Large sewing needle
- Poly-fil stuffing
- Piece of cardboard
- Scissors
- Hot glue gun
- Stitch marker
- Weighted stuffing material ( I used Poly Pellets weighted stuffing beads)
- Small snowflake craft buttons (try to get flat back buttons. If you get shank buttons, you will need to remove the shanks). I like to buy buttons on Etsy. Here are the buttons I used: Mini Snowflakes Buttons
- Craft cutter to remove the shanks
Notes:
- The snow globe is worked in joined rounds. Stitches are distributed in such way that creates a straight seam.
- Ch 1 at the beginning of rounds doesn’t count as a St.
Special Stitch
INV DEC (invisible decrease) – put hook through the front loop only of two consecutive stitches. You have three loops on hook. Yarn over and pull through two loops. You have two loops on hook. Yarn over and pull through those two loops.
Instructions:
To make this crochet Santa belly snow globe, you will need to crochet a snow globe, belt buckle, and a small Santa hat. The Santa hat is optional as some may prefer the look of the globe without it. I also embellished a snow globe base with tiny snowflake buttons.
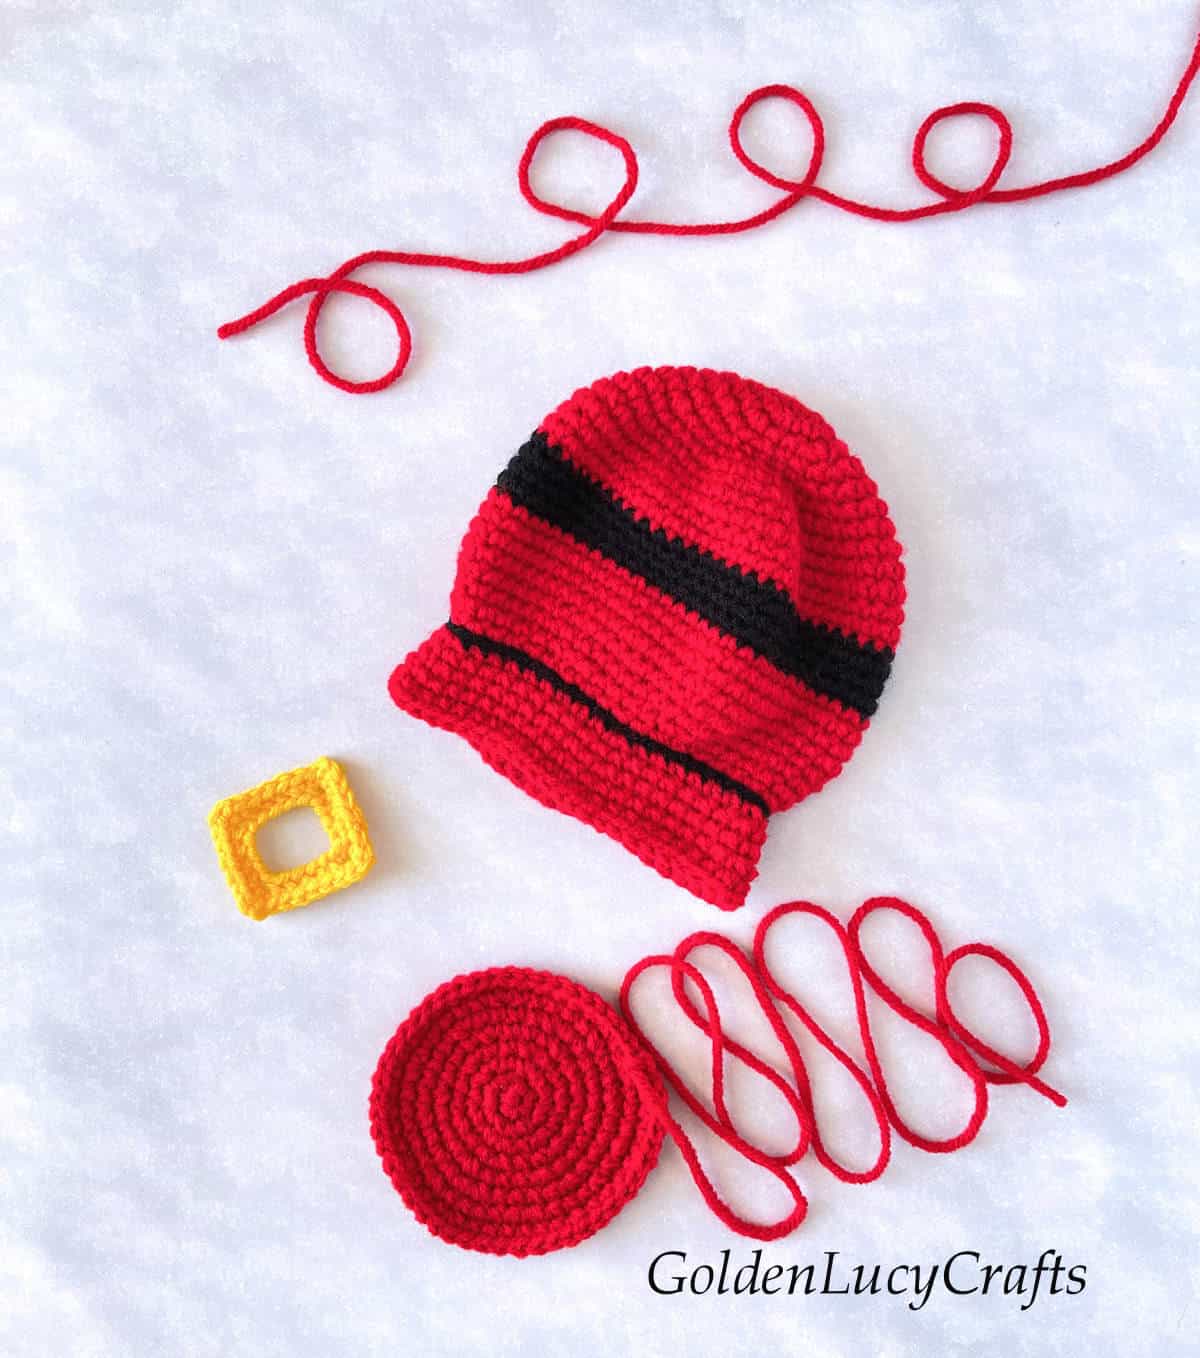
Snow globe
Copyright: This pattern is an original design by GoldenLucyCrafts. You may not copy, rewrite, redistribute or resell this pattern in any form, this includes making video tutorials. You may not translate this pattern to another language and publish the pattern or any parts of it.
With crochet hook E/4 (3.5 mm) and Color A, make magic ring;
Round 1. Ch 1, 6 SC in magic ring, Sl St to first SC to join. Total – 6 SC.
Round 2. Ch 1, 2 SC in first St and in each St around, Sl St to first SC to join. Total – 12 SC.
Round 3. Ch 1, SC in first St, 2 SC in next St, [SC in next St, 2 SC in next St] 5 times, Sl St to first SC to join. Total – 18 SC.
Round 4. Ch 1, SC in first St, [2 SC in next St, SC in each of next 2 Sts] 5 times, 2 SC in next St, SC in next St, Sl St to first SC to join. Total – 24 SC.
Round 5. Ch 1, SC in first St and in next 2 Sts, 2 SC in next St, [SC in each of next 3 Sts, 2 SC in next St] 5 times, Sl St in first SC to join. Total – 30 SC.
Round 6. Ch 1, SC in first St and in next St, [2 SC in next St, SC in each of next 4 Sts] 5 times, 2 SC in next St, SC in each of next 2 Sts, Sl St in first SC to join. Total – 36 SC.
Round 7. Ch 1, SC in first St and in next 4 Sts, 2 SC in next St, [SC in each of next 5 Sts, 2 SC in next St] 5 times, Sl St in first SC to join. Total – 42 SC.
Round 8. Ch 1, SC in first St and in each of next 2 Sts, [2 SC in next St, SC in each of next 6 Sts] 5 times, 2 SC in next St, SC in each of next 3 Sts, Sl St in first SC to join. Total – 48 SC.
Round 9. Ch 1, SC in first St and in next 6 Sts, 2 SC in next St, [SC in each of next 7 Sts, 2 SC in next St] 5 times, Sl St in first SC to join. Total – 54 SC.
Round 10. Ch 1, SC in first St and in each of next 3 Sts, [2 SC in next St, SC in each of next 8 Sts] 5 times, 2 SC in next St, SC in each of next 4 Sts, Sl St in first SC to join. Total – 60 SC.
Round 11, 12. Ch 1, SC in first St and in each St around, Sl St in first SC to join.
Round 13. Ch 1, skip first St, SC in each St around to last St, 2 SC in last St, Sl St in first SC to join. Fasten off Color A.
Join Color B to first St.
Round 14, 15. Ch 1, SC in first St and in each St around, Sl St in first SC to join.
Round 16. Ch 1, skip first St, SC in each St around to last St, 2 SC in last St, Sl St in first SC to join.
Round 17. Ch 1, SC in first St and in each St around, Sl St in first SC to join. Fasten off Color B.
Join Color A to first St.
Round 18. Ch 1, SC in first St and in each St around, Sl St in first SC to join.
Round 19. Ch 1, skip first St, SC in each St around to last St, 2 SC in last St, Sl St in first SC to join.
Round 20, 21. Ch 1, SC in first St and in each St around, Sl St in first SC to join.
Round 22. Ch 1, skip very first St, SC in each of next 9 Sts, [INV DEC, SC in each of next 8 Sts] 5 times, Sl St to first SC to join. Total – 54 SC.
Round 23. Ch 1, SC in first and in each of next 2 Sts, INV DEC, [SC in each of next 7 Sts, INV DEC] 5 times, SC in each of next 4 Sts, Sl St to first SC to join. Total – 48 SC.
Round 24. Ch 1, skip very first St, SC in each of next 7 Sts, [INV DEC, SC in each of next 6 Sts] 5 times, Sl St to first SC to join. Total – 42 SC.
Round 25. Ch 1, SC in first and in next St, INV DEC, [SC in each of next 5 Sts, INV DEC] 5 times, SC in each of next 3 Sts, Sl St to first SC to join. Total – 36 SC. Fasten off Color A. Join Color B to first St.
Round 26. Ch 1, Sl St in first St and in each St around, Sl St to first Sl St to join. Total – 36 Sl Sts. Fasten off Color B.
Continue working on base. Join Color A to BL of first St of previous round,
Round 1. Ch 1, BLO: SC in first St and in each of next 7 Sts, 2 SC in next St, [SC in each of next 8 Sts, 2 SC in next] 3 times, Sl St to first SC to join. Total – 40 SC.
Round 2. Ch 1, SC in first St and in each St around, Sl St to first SC to join. Total – 40 SC.
Round 3. Ch 1, SC in first St and in each of next 8 Sts, 2 SC in next St, [SC in each of next 9 Sts, 2 SC in next St] 3 times, Sl St to first SC to join. Total – 44 SC.
Round 4. Ch 1, SC in first St and each St around, Sl St to first SC to join. Total – 44 SC.
Round 5. Ch 1, SC in first St and in each of next 9 Sts, 2 SC in next St, [SC in each of next 10 Sts, 2 SC in next St] 3 times, Sl St to first SC to join. Total – 48 SC. Fasten off.
Bottom
The bottom is worked in continuous rounds. Use stitch marker to mark first stitch of each round.
With Color A, make magic ring;
Round 1. Ch 1, 6 SC in magic ring.
Round 2. 2 SC in each St around. Total – 12 SC.
Round 3. [2 SC in first St, SC in next St] 6 times. Total – 18 SC.
Round 4. SC in first, [2 SC in next St, SC in each of next 2 Sts] 5 times, 2 SC in next St, SC in next St. Total – 24 Sts.
Round 5. [2 SC in first St, SC in each of next 3 Sts] 6 times. Total – 30 Sts.
Round 6. SC in first St and in next St, [2 SC in next St, SC in each of next 4 Sts] 5 times, 2 SC in next St, SC in each of next 2 Sts. Total – 36 Sts.
Round 7. [2 SC in first St, SC in each of next 5 Sts] 6 times. Total – 42 Sts.
Round 8. SC in first St and in each of next 2 Sts, [2 SC in next St, SC in each of next 6 Sts] 5 times, 2 SC in next St, SC in each of next 3 Sts. Total – 48 Sts. Leave long tail for sewing bottom to the base.
Stuff your snow globe and the base, leave some space at the bottom. Stuff the snow globe very well, make sure it has a nice, spherical shape.
Cut out a circular piece of cardboard that is slightly smaller than the diameter of the bottom. A compass is very useful for this purpose.
Using a sewing needle and saved long tail, start sewing the bottom to the base (don’t forget to insert the cardboard circle inside). Sew about ¾ of the diameter, add more stuffing as necessary. Add weighted material for stability, and finish sewing the bottom.
Belt Buckle
With crochet hook E/4 (3.5 mm) and Color C, Ch 18, join with Sl St to first Ch to form a ring. Do not twist the chain.
Round 1. Ch 1, SC in first and in next 2 Chs, *(SC, Ch 2, SC) in next*, SC in next 4, repeat from * to *, SC in next 3, repeat from * to *, SC in next 4, repeat from * to *, Sl St to first SC to join. Fasten off.
Mini Hat
The instructions for the hat can be found in this post: crochet mini Santa hat ornament.
Finishing
Position the belt buckle on the front of the snow globe (make sure that the seam is on the back) and sew the belt buckle on.
Embellish the base with snowflake buttons – using a hot glue gun, glue the buttons around the base.
Sew the optional Santa hat onto the snow globe.
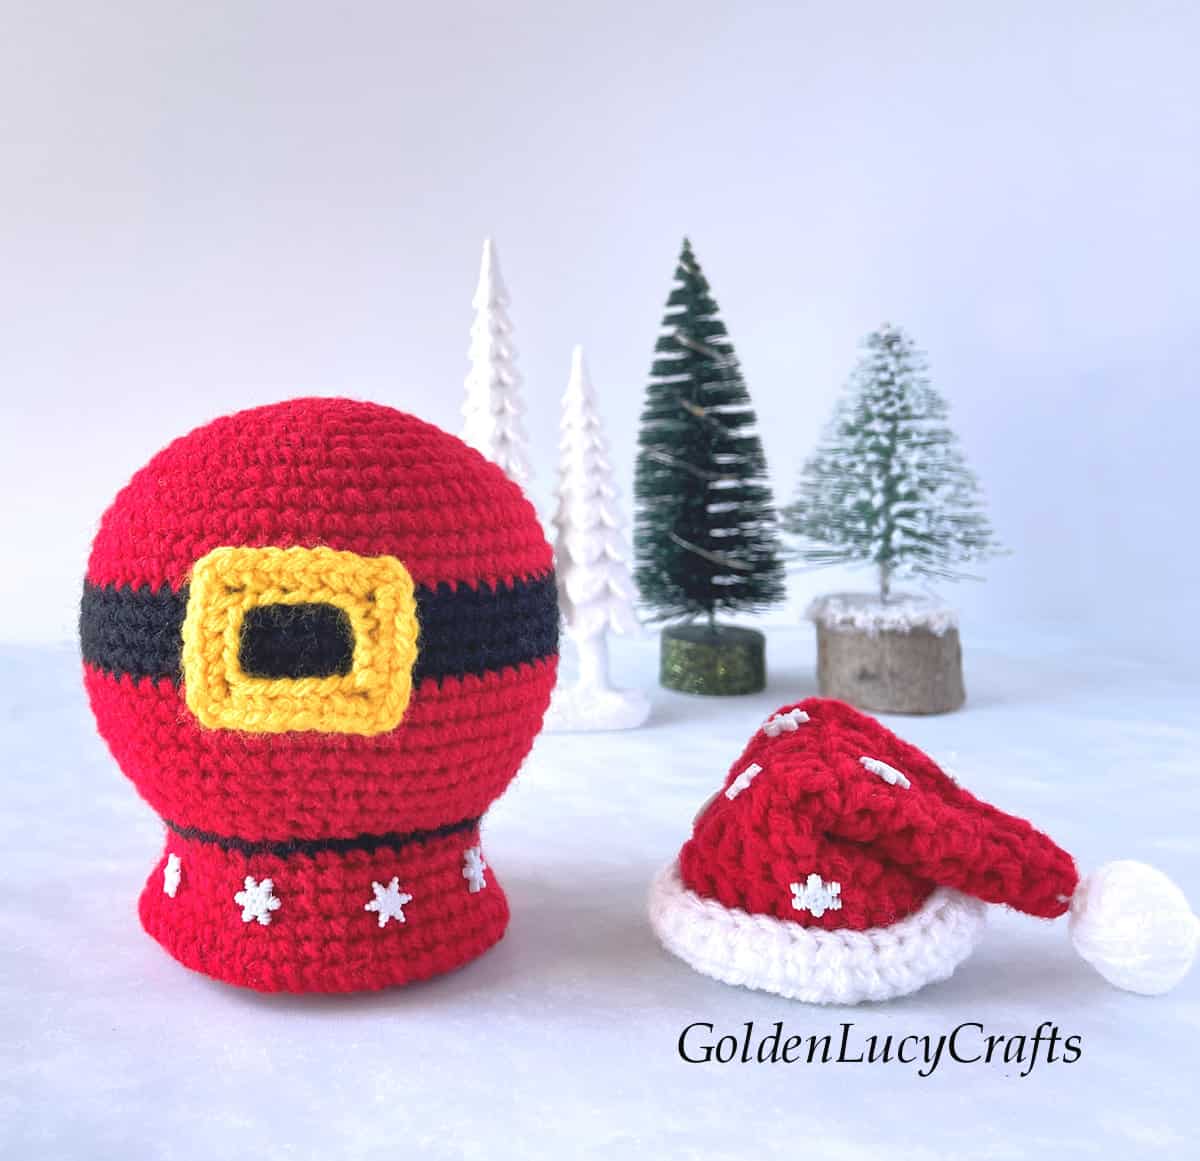
I hope you enjoyed this Santa belly snow globe free crochet pattern!
Happy Crocheting!


Leave a Reply