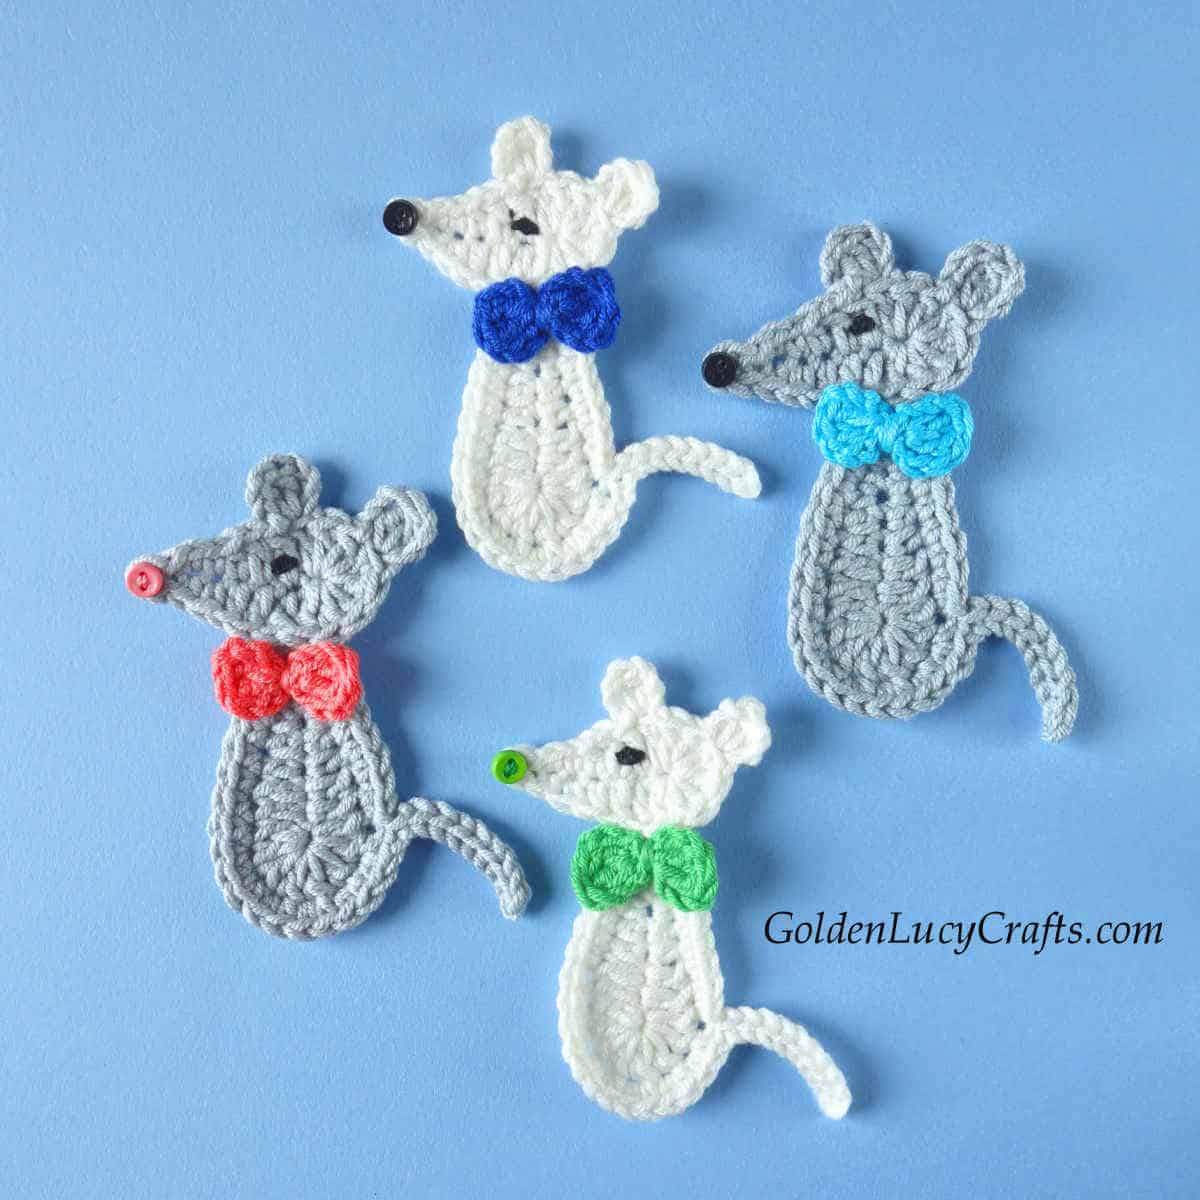
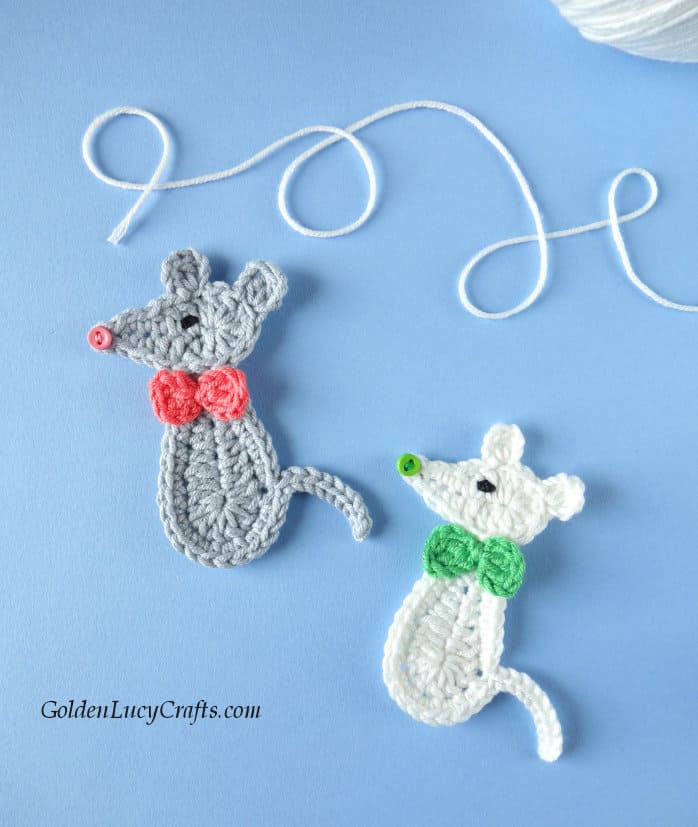
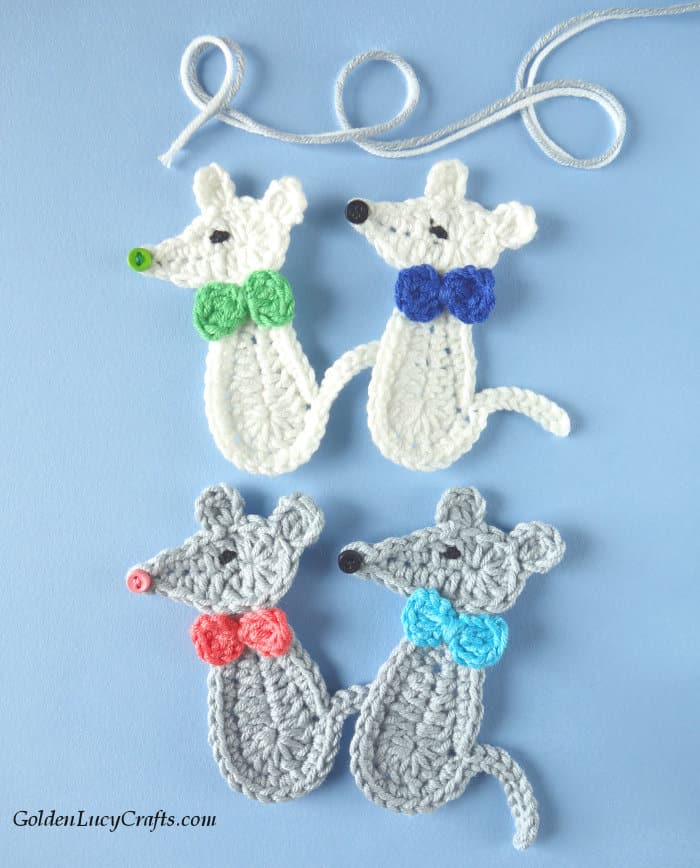
This adorable crochet Mouse applique is perfect to embellish kid’s clothes, baby blankets, hats, scarfs, or bags! You can also make a cute Mouse pin or use this applique for kid’s room decor!
Disclosure: This post contains affiliate links, which means if you make a purchase from one of these links I will get a commission. As an Amazon Associate I earn from qualifying purchases.
This crochet Mouse applique will make a great embellishment for a handmade greeting card. Ideas for DIY cards can be found in this post – handmade cards embellished with crochet appliques.
I made my Mouse appliques with light weight yarn. You can experiment with different yarn weights to make your appliques in different sizes.
You may also like these appliques: crochet heart Mickey and Minnie Mouse, crochet Fishbone applique, crochet Groundhog applique, and crochet Fox applique. All my appliques can be found on this website under the tag Appliques.
Mouse Applique Crochet Pattern and Video Tutorial
The pattern for this applique is also available as a print-friendly, styled, and advertisement-free PDF file. You can get it from my Etsy Shop. Free pattern is below.
You can add this pattern to your Ravelry library HERE.
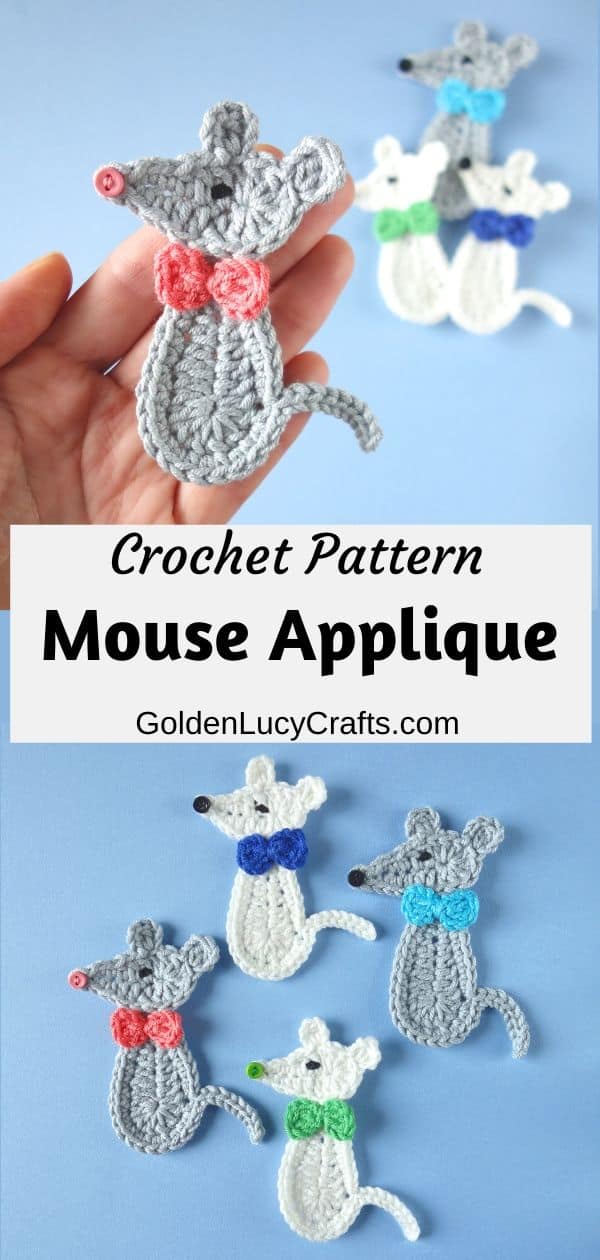
You can PIN this pattern to your Pinterest boards for later HERE, or PIN the image below.
Abbreviations:
(See a list of crochet abbreviations used in patterns by yarn industry designers and publishers HERE)
Ch – chain
DC – double crochet
DC2tog – double crochet 2 stitches together
HDC – half double crochet
Rnd – round
SC- single crochet
Sl St – slip stitch
St (Sts) – stitch (stitches)
YO – yarn over
Finished Size:
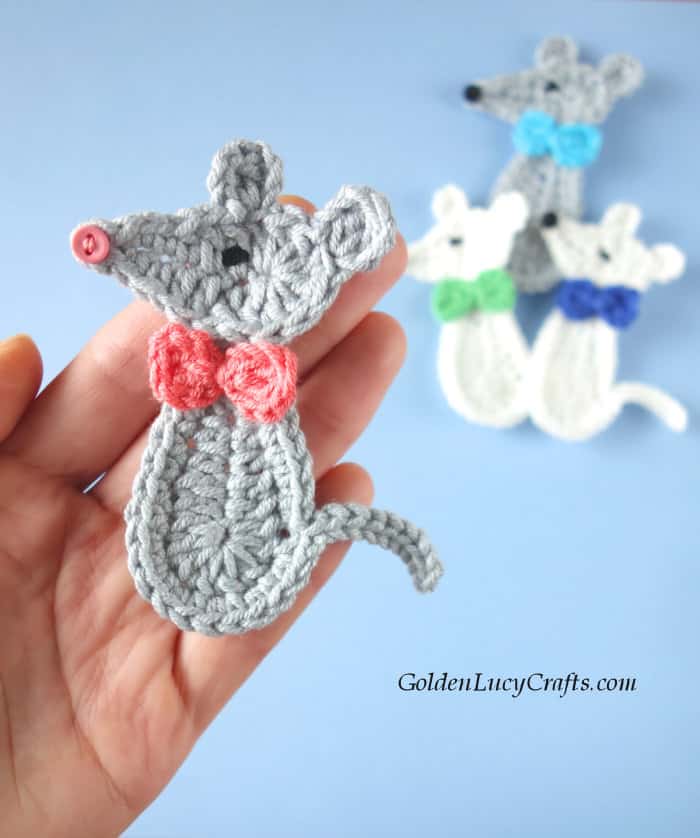
This Mouse applique is about 3-1/2” (9 cm) tall.
Yarn:
- Light weight #3 or sport weight #2 yarn (I used Premier Cotton Fair yarn)
Hook and other materials:
- Crochet hook E/3.5 mm
- Small buttons
- Black embroidery floss
Note:
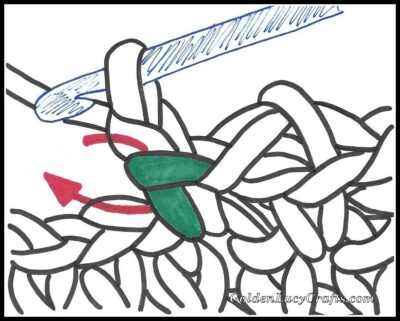
Working in top of a stitch
When instructed to work into the top of a stitch, insert hook under two loops highlighted in green in direction of arrow.
Instructions:
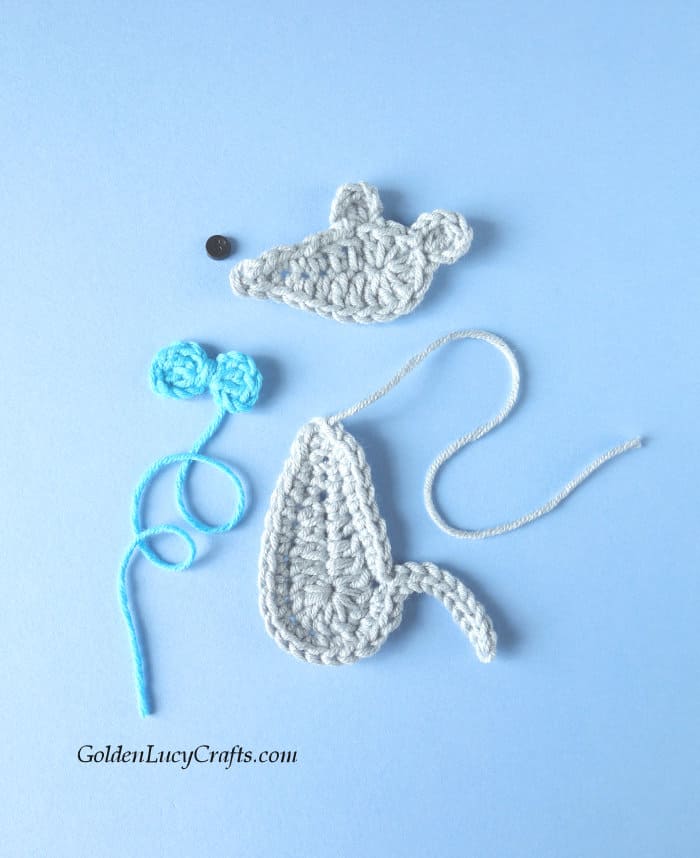
To make this Mouse applique, you need to make a head, a body, and a small bow.
Head
Copyright: This pattern is an original design by GoldenLucyCrafts. You may not copy, rewrite, redistribute or resell this pattern in any form, this includes making video tutorials. You may not translate this pattern to another language and publish the pattern or any parts of it.
Ch 9,
Rnd 1. Sl St in 2nd Ch from hook and in next Ch, SC in each of next 2 Chs, HDC in next Ch, DC in each of next 2 Chs, working under 2 loops – 5 DC in last Ch,
first ear – *Ch 3, DC2tog in top of last DC (see Note), Ch 3, Sl St in top of last DC (see Note)*,
3 DC in same last Ch,
repeat from * to * for the second ear,
continue on opposite side of the Chain: DC in each of next 2 Chs, HDC in next Ch, SC in each of next 2 Chs, Sl St in each of next 2 Chs. Fasten off.
Body
Ch 10,
Rnd 1. Sl St in 2nd Ch from hook and in next Ch, SC in each of next 2 Chs, HDC in each of next 2 Chs, DC in each of next 2 Chs, working under 2 loops – 8 DC in last Ch,
continue on opposite side of the Chain: DC in each of next 2 Chs, HDC in each of next 2 Chs, SC in each of next 2 Chs, Sl St in each of next 2 Chs.
Rnd 2. Ch 2, Sl St in first St of previous Rnd and in next St, SC in each of next 8 Sts, 2 SC in each of next 5 Sts,
tail – Ch 10, Sl St in 2nd Ch from hook and in each of next 7 Chs, skip last Ch, Sl St in next St of Rnd 1, SC in each of next 7 Sts, Sl St in next St, Sl St in 1st Ch of Ch 2 at beginning of this Rnd. Fasten off.
Bow
Ch 4, working under 2 loops – 2 DC in 4th Ch, Ch 3, Sl St in same Ch, Ch 3, 2 DC in same Ch, Ch 3, Sl St in same Ch.
Leave a tail about 5-6” long, cut off yarn. Wrap the tail 3-4 times around the center of the bow. Fasten off.
Finishing
Sew the head and body together, sew on a bow.
Embroider the eye (you can also use googly eye).
Sew on a button for the nose (for babies and small children items – embroider the nose on).
Block your applique as necessary.
Crochet Mouse Applique Video Tutorial
I hope you enjoyed this crochet Mouse applique free pattern!
Happy Crocheting!

For more crochet patterns, craft ideas, and fun projects follow GoldenLucyCrafts on Facebook, Pinterest, Twitter, and Instagram!
You may also like:
Crochet Stork Applique
These mice are super cute! Thanks for sharing!
You are very welcome! I am glad to hear that you like them!
Beautiful
Thank you so much!
I really love your patterns. I made some for my granddaughter and sent them in the mail today. But I don’t understand how to make the mouse’s ears.
Can you tell me where exactly you are having a problem?
I can make the first ear. It cannot understand instruction for second ear. Love the mouse. So cute. Thanks
Can you tell me exactly where you are having a problem with the second ear? To make a second ear you just repeat instructions for the first ear. The pattern is instructed to repeat from * to * for the second ear.
Ok, I will be glad to make a video tutorial.
I love the crochet mouse but I don’t understand what it means to continue on opposite side of the chain after completing the second ear. Do you have a video to help me? Thanks,
I don’t have a video for this pattern yet. “To continue on opposite side of the chain” – after finishing the second ear, do not turn your work but continue working around inserting your hook into the beginning chain. You will be working on the “opposite” side of the chain. Hope this will help.
Cute mouse but I can’t figure out how to do the ears, would love a video.
I am planning to make a video for the mouse, it will be posted on my YouTube channel: https://www.youtube.com/@GoldenLucyCrafts