
This crochet mushroom applique is the next creation in my series of heart-shaped applique free crochet patterns. The cap of my crochet mushroom is shaped like a heart.
Disclosure: This post contains affiliate links, which means if you make a purchase from one of these links I will get a commission. As an Amazon Associate I earn from qualifying purchases.
To make this applique, you will need to crochet a heart for the Mushroom’s cap and a stem, then sew them together.
These mushroom appliques are perfect for embellishing kids’ clothes, blankets, hats, etc. I used them to make this adorable crochet woodland garland.
You may also like these appliques: crochet Owl applique, crochet Fox applique, and crochet Hedgehog applique.
Heart Mushroom Applique Crochet Pattern, Video Tutorial
The pattern for this crochet mushroom applique is also available as a print-friendly, styled and advertisement-free PDF. You can get it from my Etsy Shop. Free pattern is below.
You can add this crochet mushroom applique pattern to your Ravelry library HERE.
You can PIN this pattern to your Pinterest boards HERE or PIN the image below.

Abbreviations:
(See a list of crochet abbreviations used in patterns by yarn industry designers and publishers HERE)
Ch – chain
DC – double crochet
HDC – half double crochet
Rnd – round
SC- single crochet
Sl St – slip stitch
St (Sts) – stitch (stitches)
TR – treble crochet

Finished Size:
I made mushroom appliques in two sizes:
The larger crochet Mushroom applique is about 3 – 1/4″ (8-1/2 cm) tall.
The smaller crochet Mushroom applique is about 2 – 1/5″ (6-1/2 cm) tall.
Yarn:
Light weight #3 cotton yarn. I used:
- Patons Grace sport weight #3 yarn (100% mercerized cotton), color – Cardinal
- Patons Grace sport weight #3 yarn (100% mercerized cotton), color – Snow
- Patons Grace sport weight #3 yarn (100% mercerized cotton), color – Fiesta
- Patons Grace sport weight #3 yarn (100% mercerized cotton), color – Natural
- Aunt Lydia’s crochet cotton thread size 3, color – Copper Mist
Hooks and other materials:
- Crochet hook D/3 – 3.25 mm
- Ladybug buttons – optional
- Other cute buttons – optional
Find my favorite craft and crochet supplies HERE!

Instructions:
Copyright: This pattern is an original design by GoldenLucyCrafts. You may not copy, rewrite, redistribute or resell this pattern in any form, this includes making video tutorials. You may not translate this pattern to another language and publish the pattern or any parts of it.
Larger Cap
Ch 4;
Rnd 1. Make all of the next stitches into the fourth Ch from hook (the first Ch made) working under both loops – 3 DC, 9 HDC, 3 DC; Ch 3, Sl St in center.
Rnd 2. Ch 3, HDC+DC in first St, 3 TR in next St, 2 DC in next St, DC in each of next 4 Sts, 3 DC in next St, DC in each of next 4 Sts, 2 DC in next St, 3 TR in next St, DC+HDC in next St, Ch 3, Sl St in center.
Rnd 3. Ch 3, SC in first St, 2 SC in each of next 5 Sts, then SC in each of the next 6 Sts, 2 SC in next St, SC in each of the next 6 Sts, 2 SC in each of next 5 Sts, SC in next St, Ch 3, Sl St in center. Fasten off.

Smaller Cap
Ch 4;
Rnd 1. Make all of the next stitches into the fourth Ch from hook (the first Ch made) working under both loops – 3 DC, 9 HDC, 3 DC; Ch 3, Sl St in center.
Rnd 2. Ch 3, HDC+DC in first St, 3 DC in next St, 2 DC in next St, HDC in each of next 4 Sts, 3 HDC in next St, HDC in each of next 4 Sts, 2 DC in next St, 3 DC in next St, DC+HDC in next St, Ch 3, Sl St in center. Fasten off.

Larger Stem
Ch 10,
Rnd 1. SC in 2nd Ch and in next 4 Chs, HDC in next 3 Chs, working under 2 strands – 8 DC in next (last) Ch; continue working on the opposite side of Ch – HDC in next 3 Chs, SC in next 5 Chs, Sl St in first SC of the Rnd to join, Ch 1.
Rnd 2. SC in next 7 Sts, HDC in next St, 2 HDC in next St, HDC in next 2 Sts, 2 HDC in next 2 Sts, HDC in next 2 Sts, 2 HDC in next St, HDC in next St, SC in next 7 Sts, 2 SC in next St, Sl St in first SC of the Rnd to join. Fasten off.
Smaller Stem
Ch 10,
Rnd 1. SC in 2nd Ch and in next 4 Chs, HDC in next 3 Chs, 8 DC in next (last) Ch – work under 2 strands; continue working on opposite side of Ch – HDC in next 3 Chs, SC in next 5 Chs, Sl St in first SC of the Rnd to join. Fasten off.

Finishing:
Sew Mushroom’s cap and stem. Block your mushrooms, as necessary. Embellish your appliques with buttons, if desired.
Crochet Heart Mushroom Applique Video Tutoial

I hope you enjoyed this Mushroom applique free crochet pattern!
Happy Crocheting!

For more crochet patterns, craft ideas, and fun projects, follow GoldenLucyCrafts on Facebook, Pinterest, and Instagram!
You may also like:
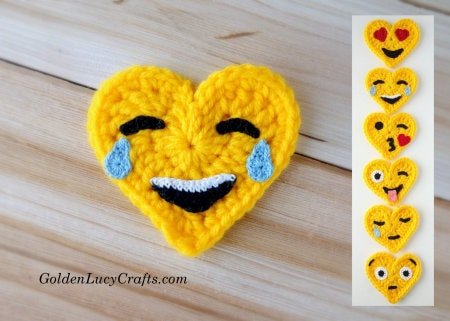
Crochet Heart Shaped Emoji – Tears of Joy
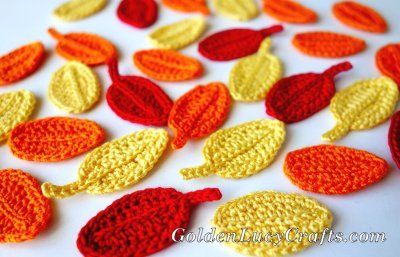
Crochet Simple Leaf Pattern
Fall Crochet Patterns and Ideas Collection

These are SO cute! Having hearts as the tops of the mushrooms is so clever!!!!
Thank you! I am glad that you like my Mushrooms!
These are darling! I can’t wait to try making them. Thank you for the pattern.
You are very welcome! They are fun and easy to make, I hope you will enjoy making them!
These are creative and cute – thank you for the free pattern.
Cute ! Cute ! Cute !!!!!!!
Thank you!
Really love this.
I had so much fun making this! It turned out adorable! Thanks!
I am glad that you enjoyed this pattern! Thank you!
Your designs are cute! Can anyone use your appliques to add to an item that they make to sell at Holiday shows?
Yes, of course!
I absolutely love everything you do! You are so talented!
Thank you so much! I am glad to hear that you like my work!
These are fantastic, thank you so much! The pattern is so easy to follow. Are you able to tell me how big the little white buttons you’ve used are, please?
I used 6 mm buttons and I’m glad you enjoyed this pattern!
These are so inventive and cute thank you!!!!