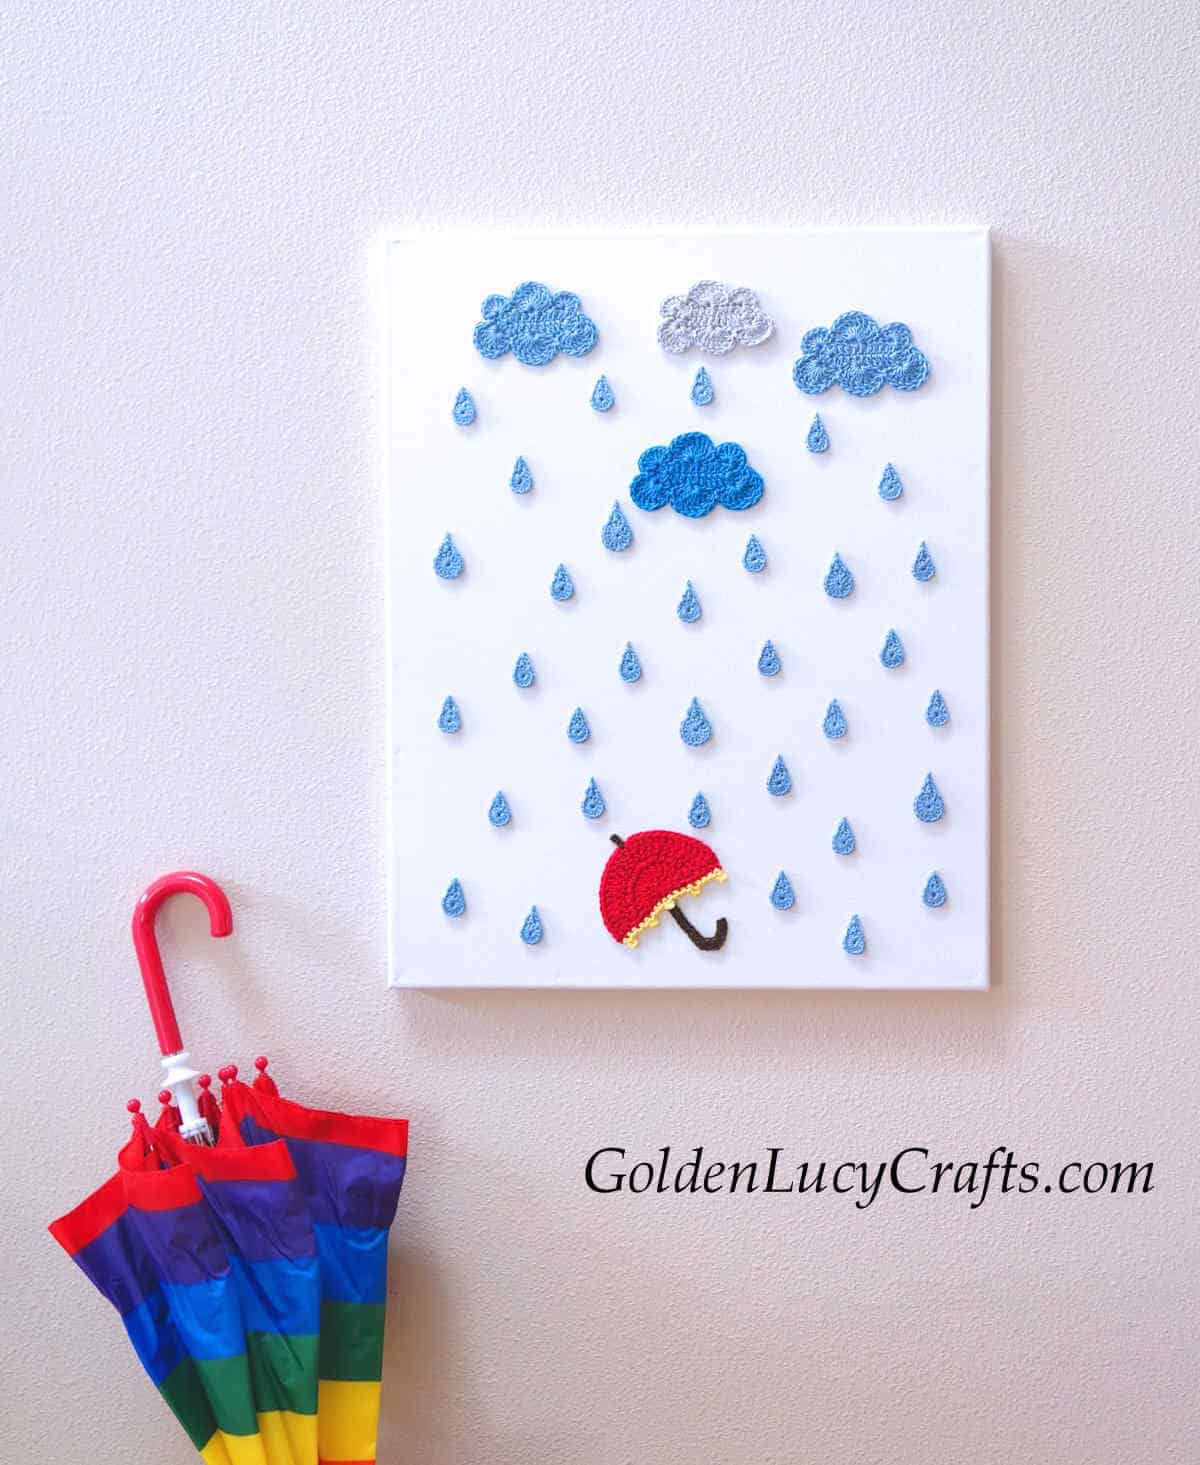
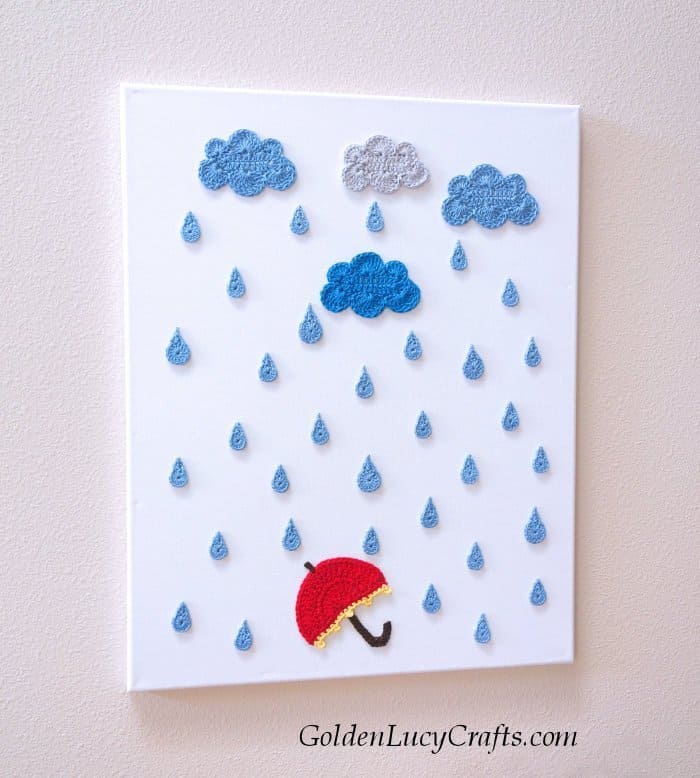
This Rainy Day Crochet Wall Art will be a beautiful decoration for your home or office. If you know how to crochet, it would be a wonderful DIY project to make for yourself or as a gift for somebody who loves rain.
Disclosure: This post contains affiliate links, which means if you make a purchase from one of these links I will get a commission. As an Amazon Associate I earn from qualifying purchases.
The patterns I used for this project are free and available on this website. For this wall art, I used Clouds and Raindrops Applique crochet pattern and Umbrella Applique crochet pattern.
The pattern for this Rainy Day wall art is also available as a print-friendly, styled, and advertisement-free PDF file. The PDF version includes patterns for the Cloud, Raindrops, and Umbrella appliques. You can get it from my Etsy Shop.
I live in the Pacific Northwest where it rains a lot. When I first moved here from Ukraine, I found the days and sometimes weeks of endless rain to be sad.
My husband, who is native to the Pacific Northwest, loves the rain, and over time, I also have learned to welcome it.
My office has a large window and it is cozy and relaxing to overlook my neighborhood as I sip tea and think about more ideas for crochet patterns with our dog Lucy taking a nap nearby.
I learned that there is a specific scientific name for people that love rain. They are called pluviophiles. (Have you ever heard of this word?) I would not say that I am yet a pluviophile, but maybe someday?

Rain brings me a special philosophical and peaceful mood. A rainy day is a perfect time to get cozy with my hook and yarns. Or, to go for a walk in the rain with our Golden Retriever Lucy. I just have to choose what I prefer to do.
Most of the time, hook and yarn win. Lucy just loves to get wet, and it’s a big job to dry her up after a rainy walk!
After I designed my crochet appliques for clouds, raindrops, and umbrella, I decided to use those appliques to make Rainy Day wall art.
You can also use this Rainy Day crochet wall decor idea to create cute wall art for a kid’s room.
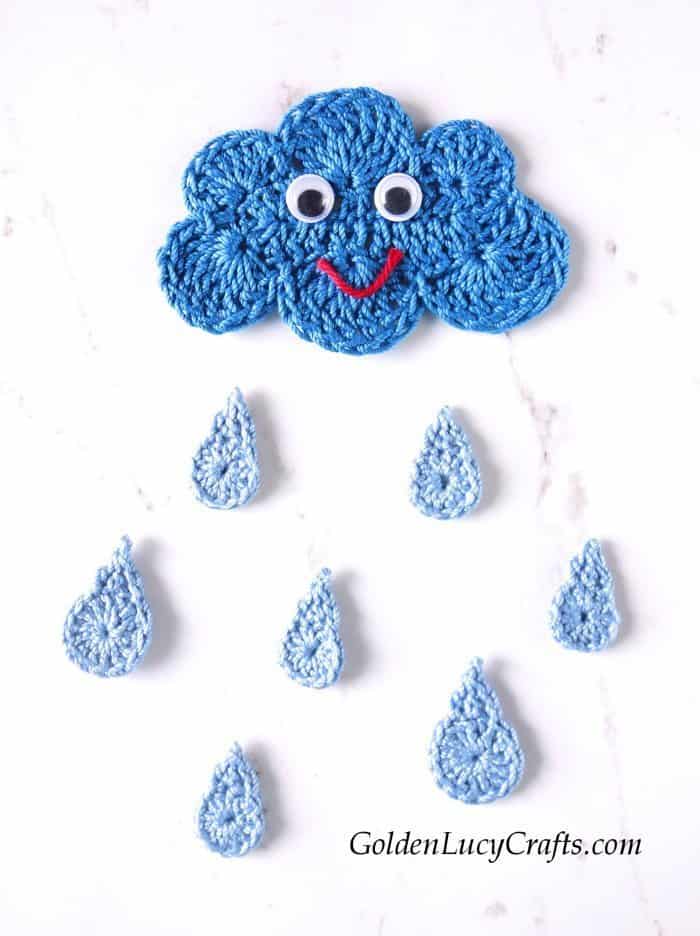
Add googly eyes to the Cloud, leave the Umbrella out and you will have a happy Cloud and Raindrops wall art. You even can make raindrops in different bright colors!
You may also like these crochet wall art ideas: crochet Great Blue Heron wall art, crochet Snowman Catching Snowflakes wall art, crochet Valentine’s Day tree wall art, and crochet Giraffe wall art.
More crochet wall art designs can be found in this collection of Crochet Wall Art Ideas and under the tag Wall Art.
You can Pin this project to your Pinterest boards HERE.
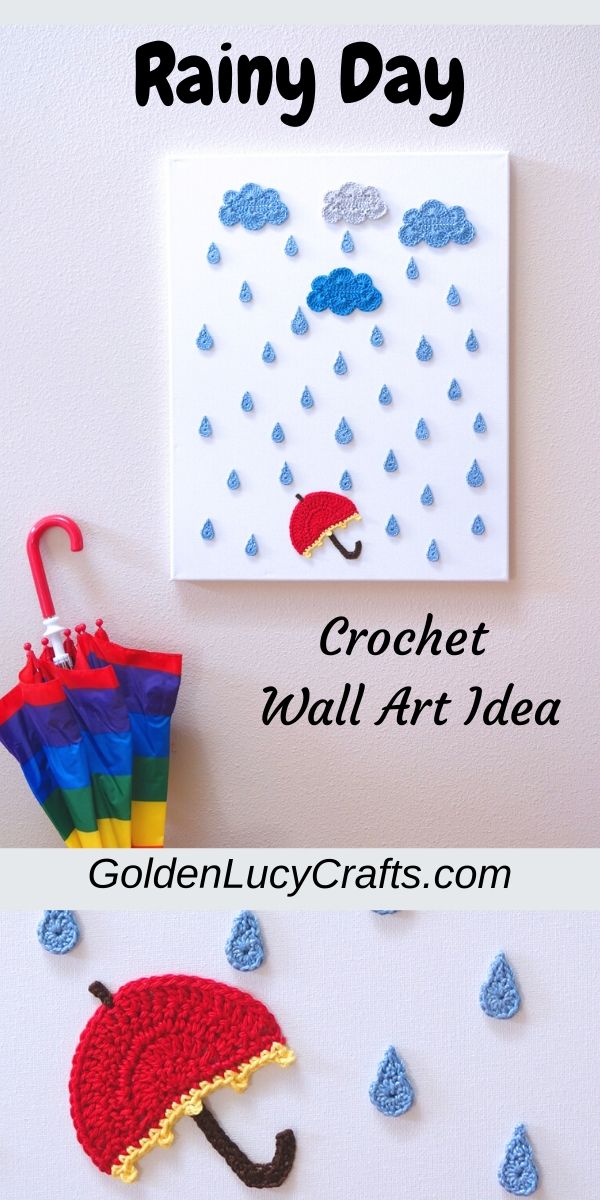
How to Make Rainy Day Crochet Wall Art
To create this crochet Rainy Day wall art you need to crochet clouds, raindrops, and umbrella. Then using a hot glue gun, glue the appliques to the canvas in an arrangement that suits you.
Materials I used:
For the Clouds and Raindrops:
Aunt Lydia’s crochet threads size 3
For the Umbrella:
Paton Grace, sport weight # 2 yarn (100% mercerized cotton)
Also, I used 16 x 20 canvas and glue gun.
Find my favorite craft and crochet supplies HERE!
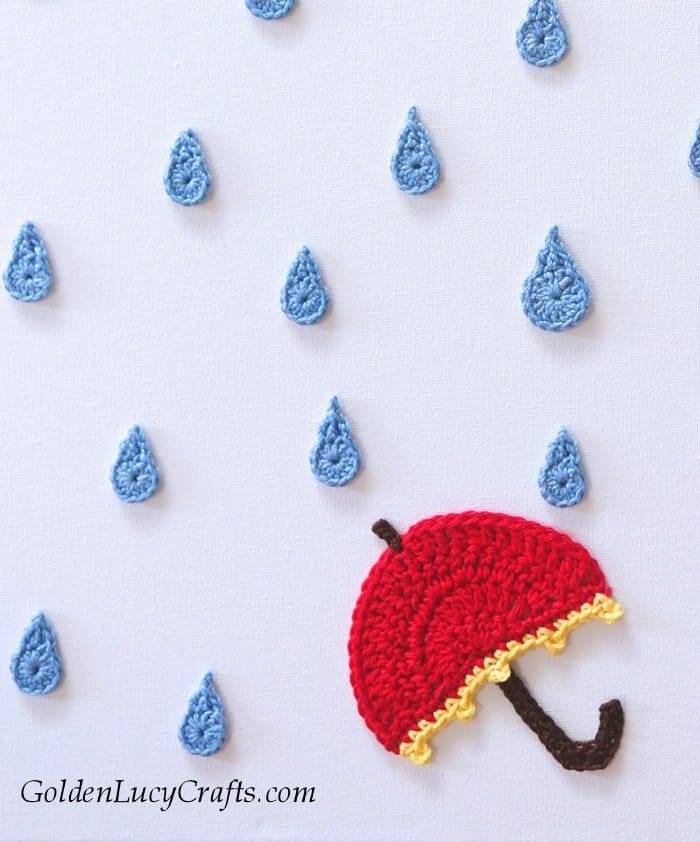
The patterns I used:
For this project I used the following patterns that are available on this website:
Clouds and Raindrops Applique crochet pattern
Umbrella Applique crochet pattern
You can add these patterns to your Ravelry library:
Pattern for the Clouds and Raindrops is HERE.
Pattern for the Umbrella is HERE.
I hope you enjoyed this wall art idea. If you love rain, I hope you will be inspired to make your own Rainy Day crochet wall art!
Happy Crocheting!

For more crochet patterns, craft ideas, and fun projects follow GoldenLucyCrafts on Facebook, Pinterest, Twitter, and Instagram!
You may also like:
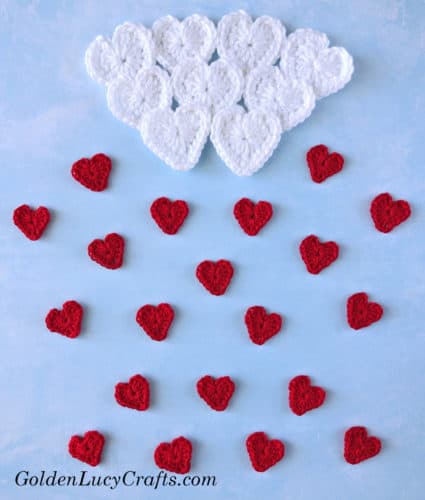
Rain of Hearts
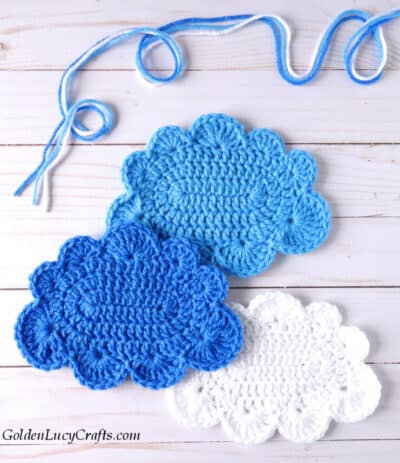
Crochet Large Cloud Applique

These crochet wall art ideas are so adorable! I honestly don’t know how to crochet, but I’ve been wanting to learn how — just to make cute pictures like what you did. Thanks for the valuable resource and the links you provided. They will help me 🙂
Love these designs. You are very talented.
Thank you so much for your kind words!
love your creations. can you advise me please on how to attach the applique to the background. thanks.
How to sew applique on – using a sewing needle and matching thread, stitch the applique around the perimeter, then make a couple of stitches in the middle of the applique to make it lay flat.
Here is the tutorial I like: http://www.vendulkam.com/2014/10/how-to-sew-applique-nicely.html